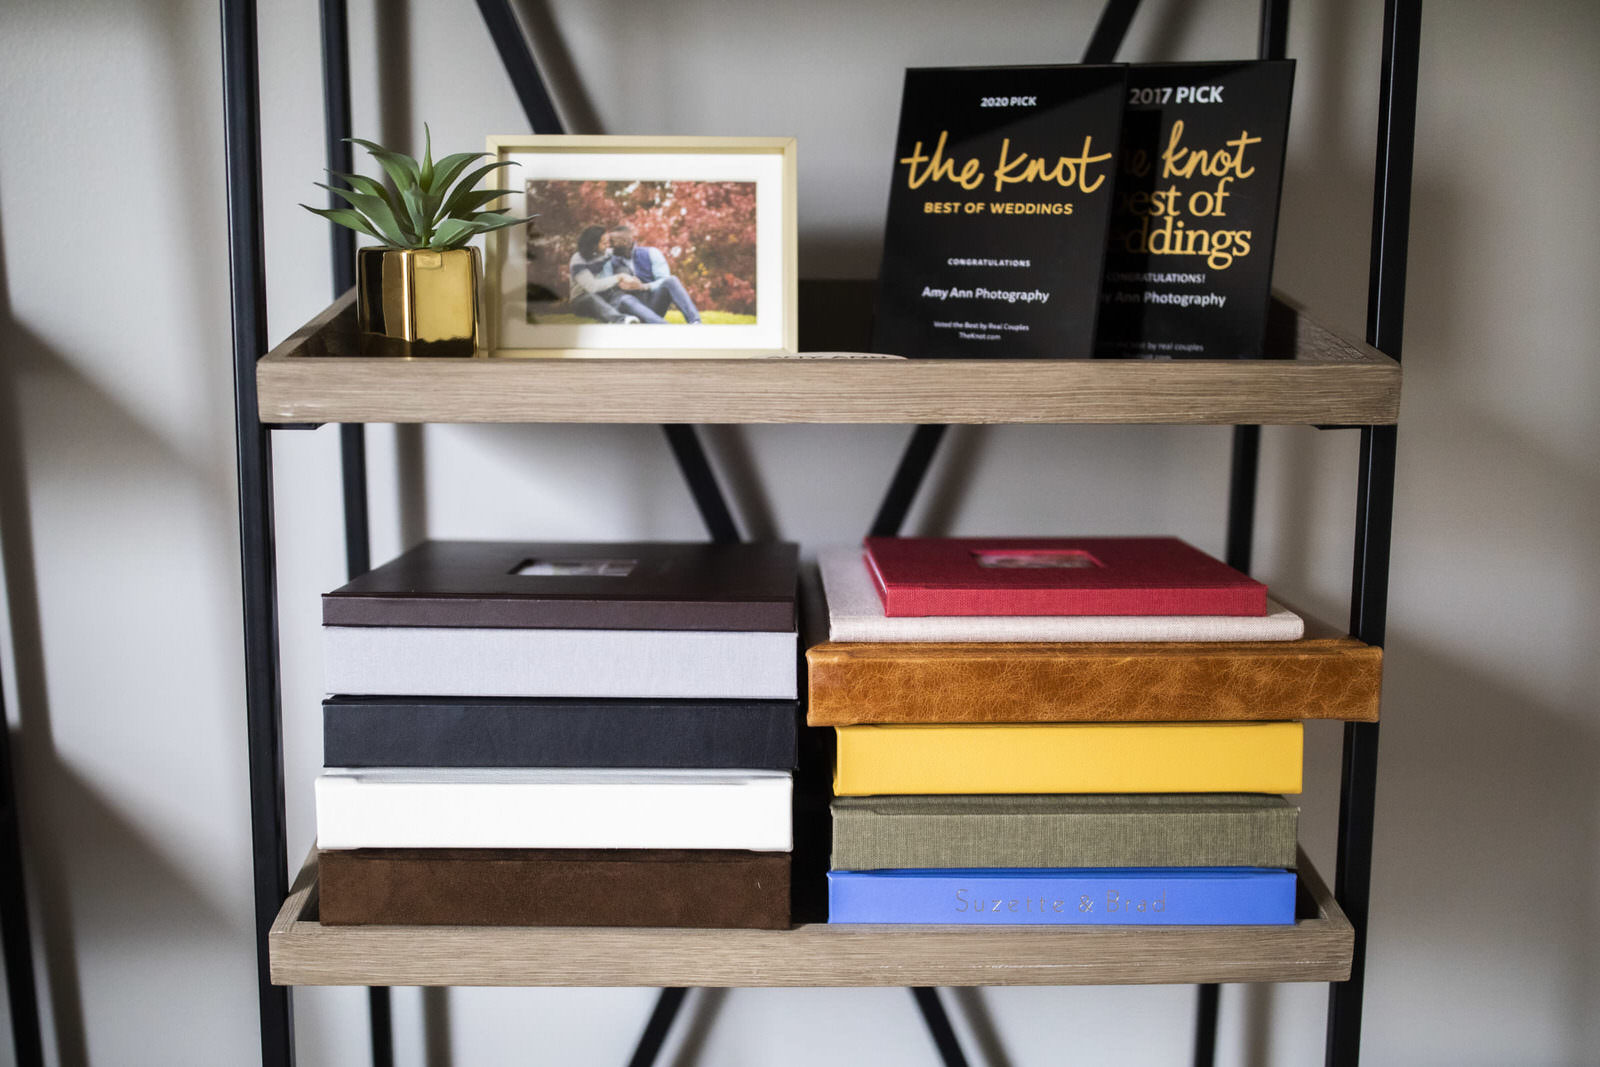
Did you know I absolutely love making albums? If making pictures is my most favorite aspect of what I do, then designing and delivering albums for my clients is probably a close second. Being in the digital age, sometimes our images end up sitting on a computer hard drive, or maybe buried in a past social media post. But there’s nothing like holding a book in your hands, full of your printed portraits and memories. A true documentation of the past, a timeless way to share your story for the future.
Your wedding may have happened a few years ago, and you’ve always thought about finally making an album. I know from personal experience, before I was a photographer, doing it yourself can be daunting and realistically, something you may never get around to. Let me help you make it happen!
There are quite a few selections and decisions to be made, but I try to simplify process as much as possible for my clients, and handle as much of the work as they’ll let me!
Step 1. The Styles
I’ve partnered with New York-based Renaissance Albums for all my albums, and through them I have three album style offerings: the Soho, Essex Plus, and Essex.
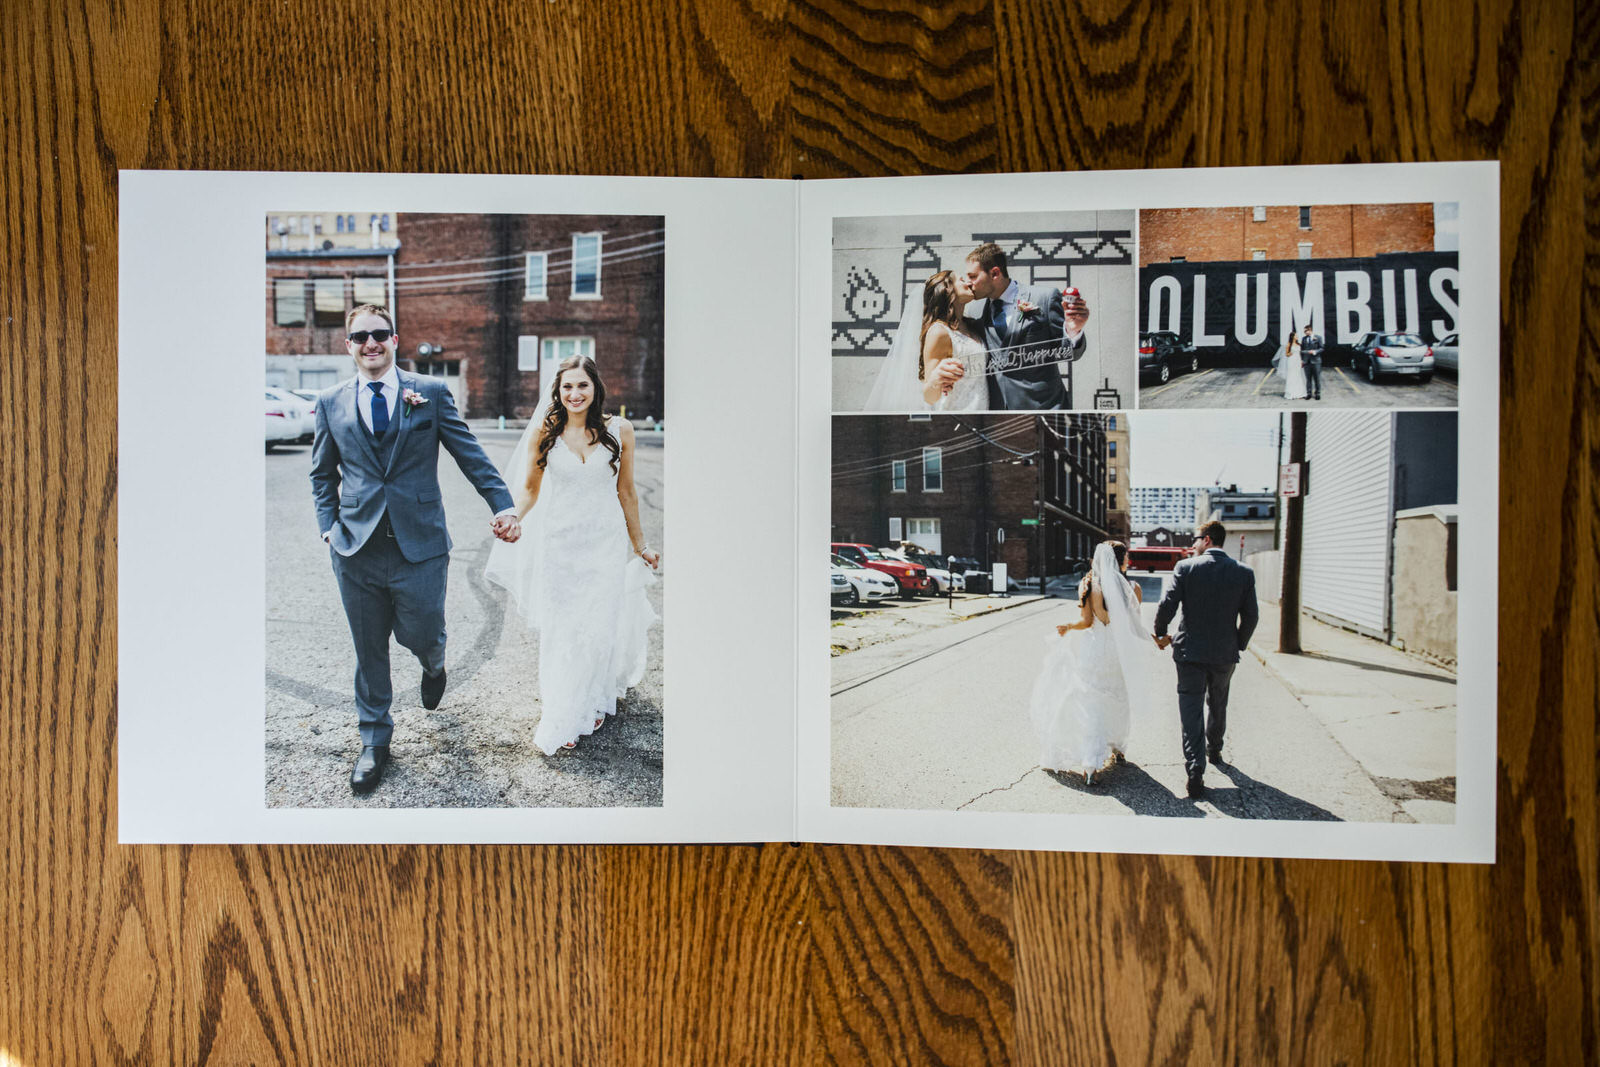
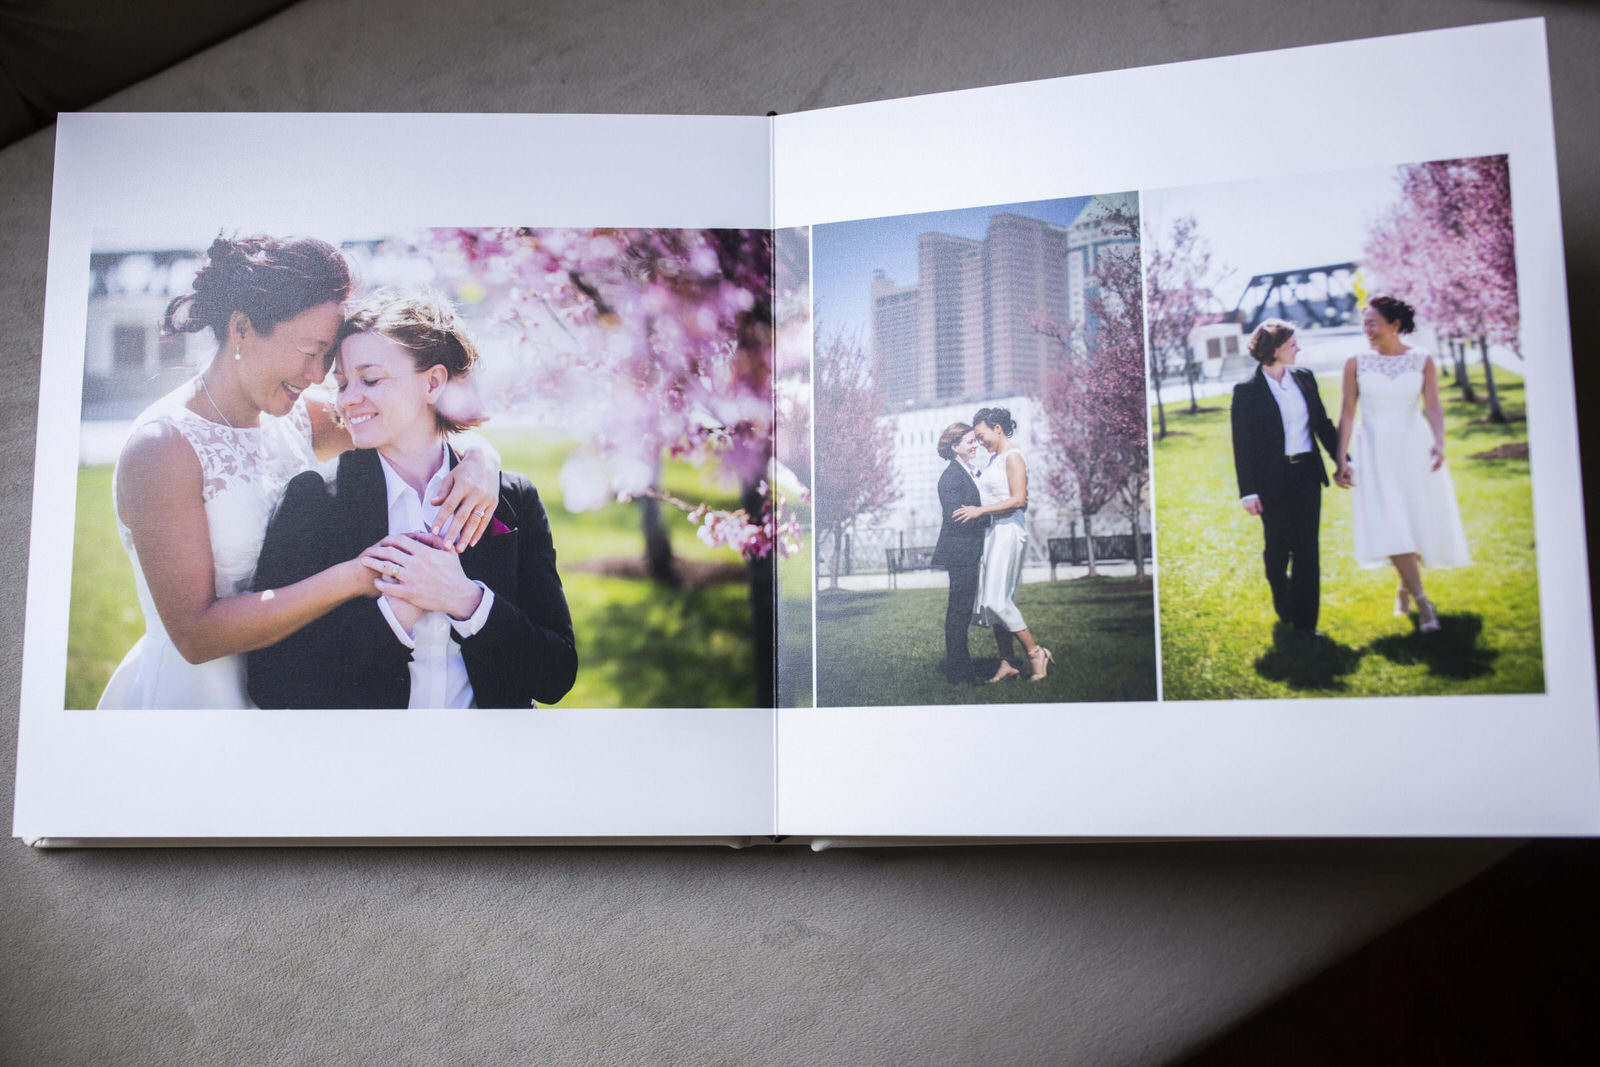
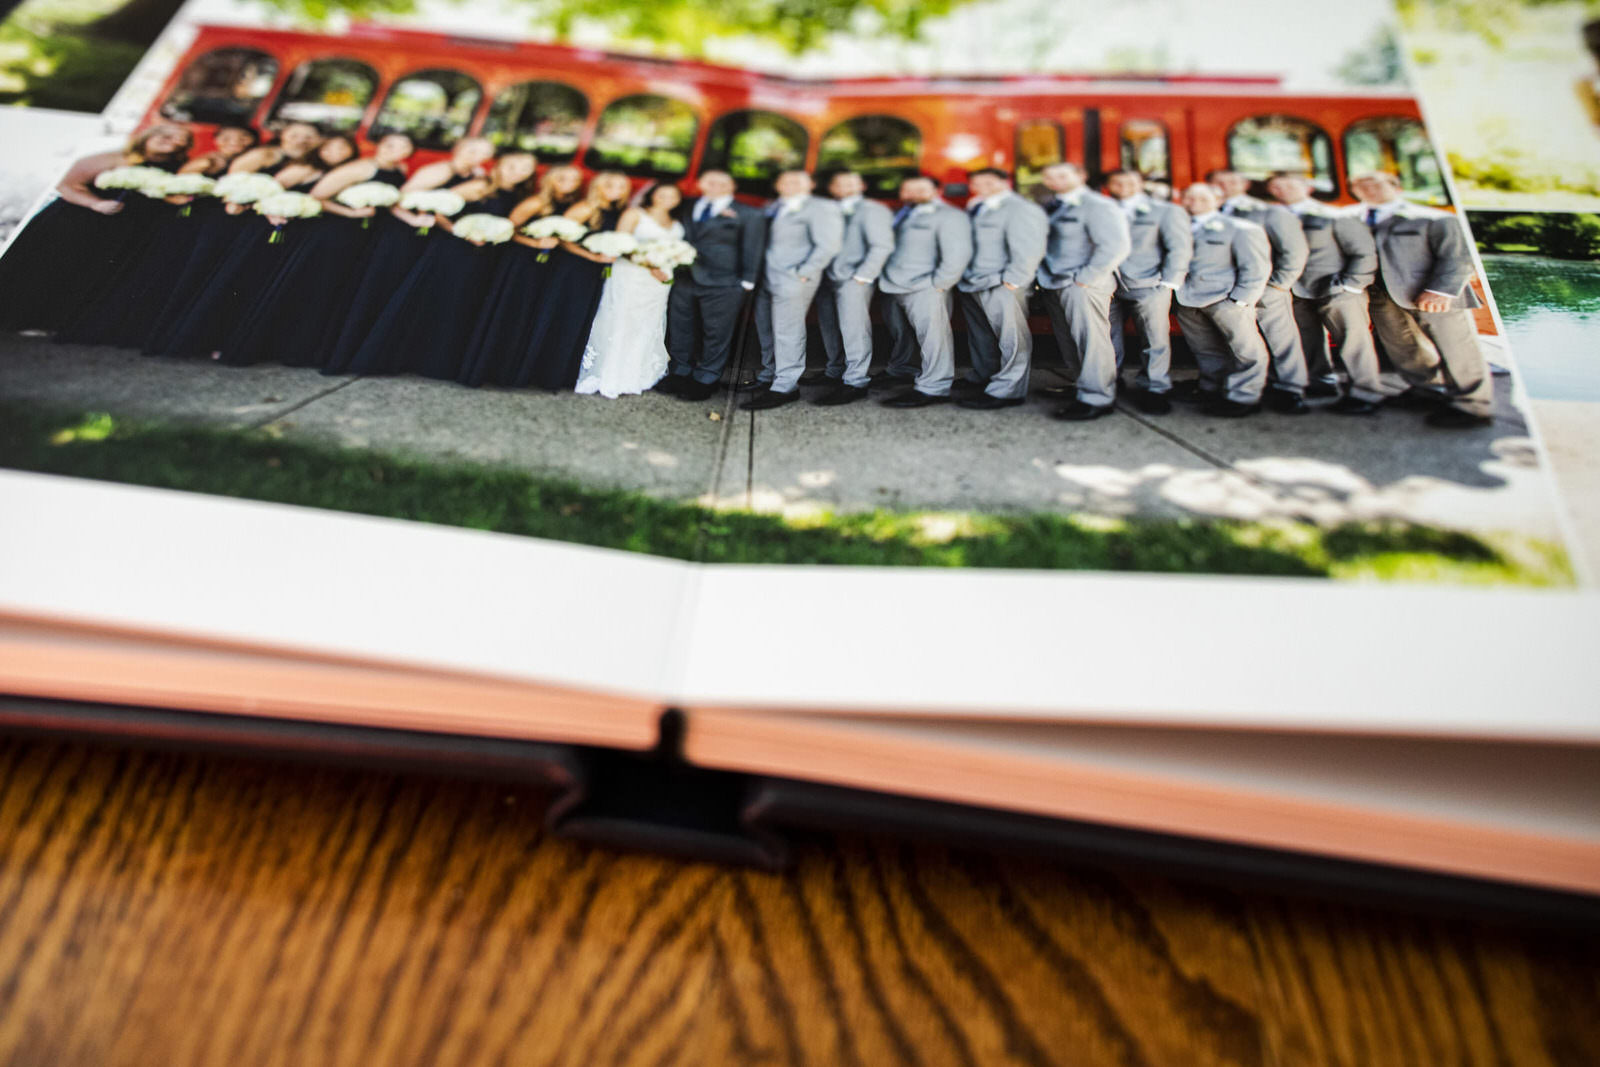
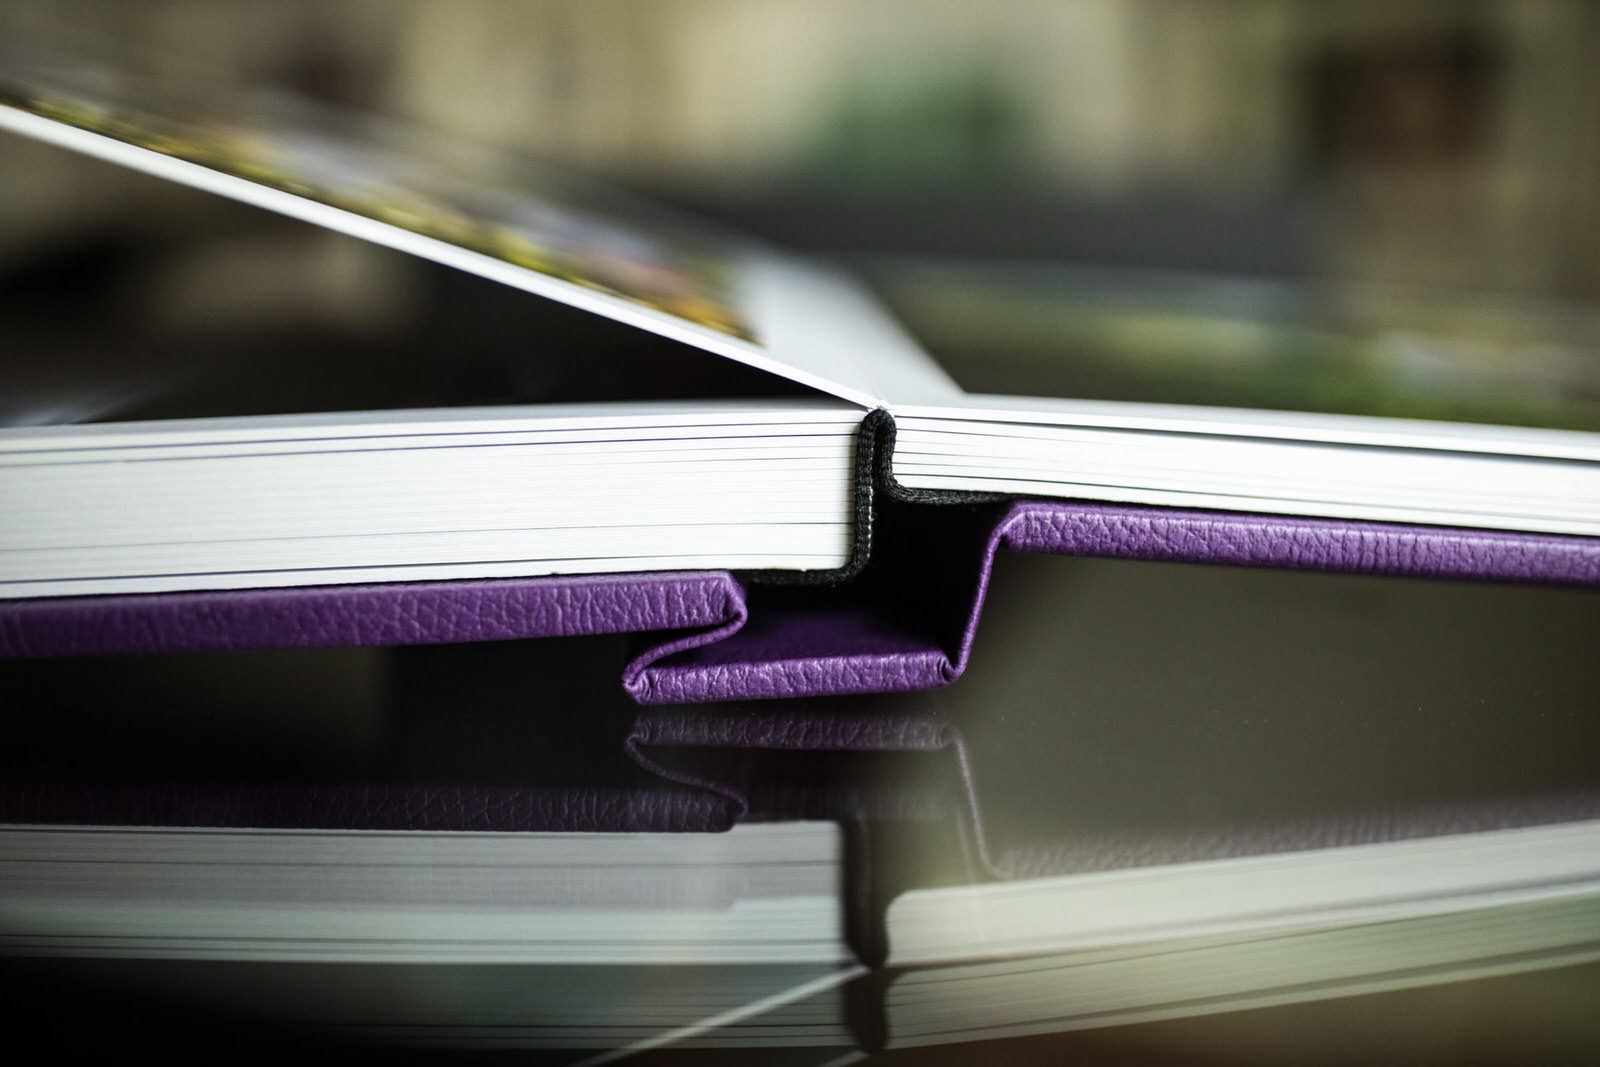
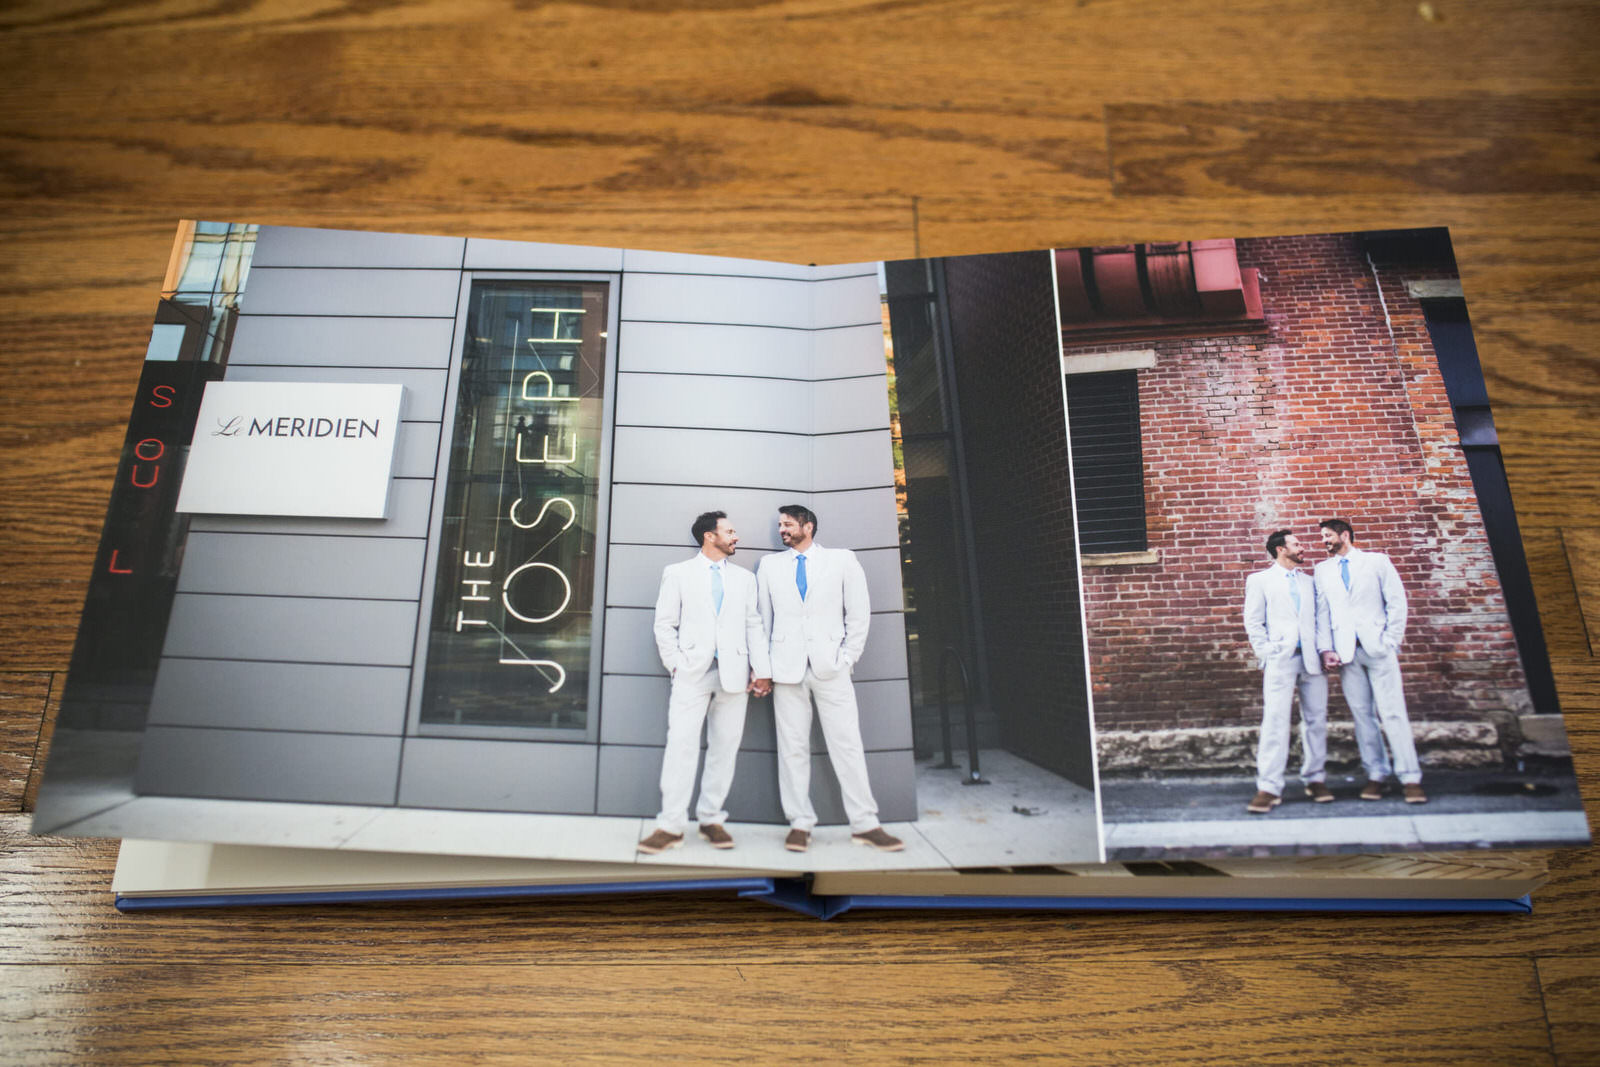
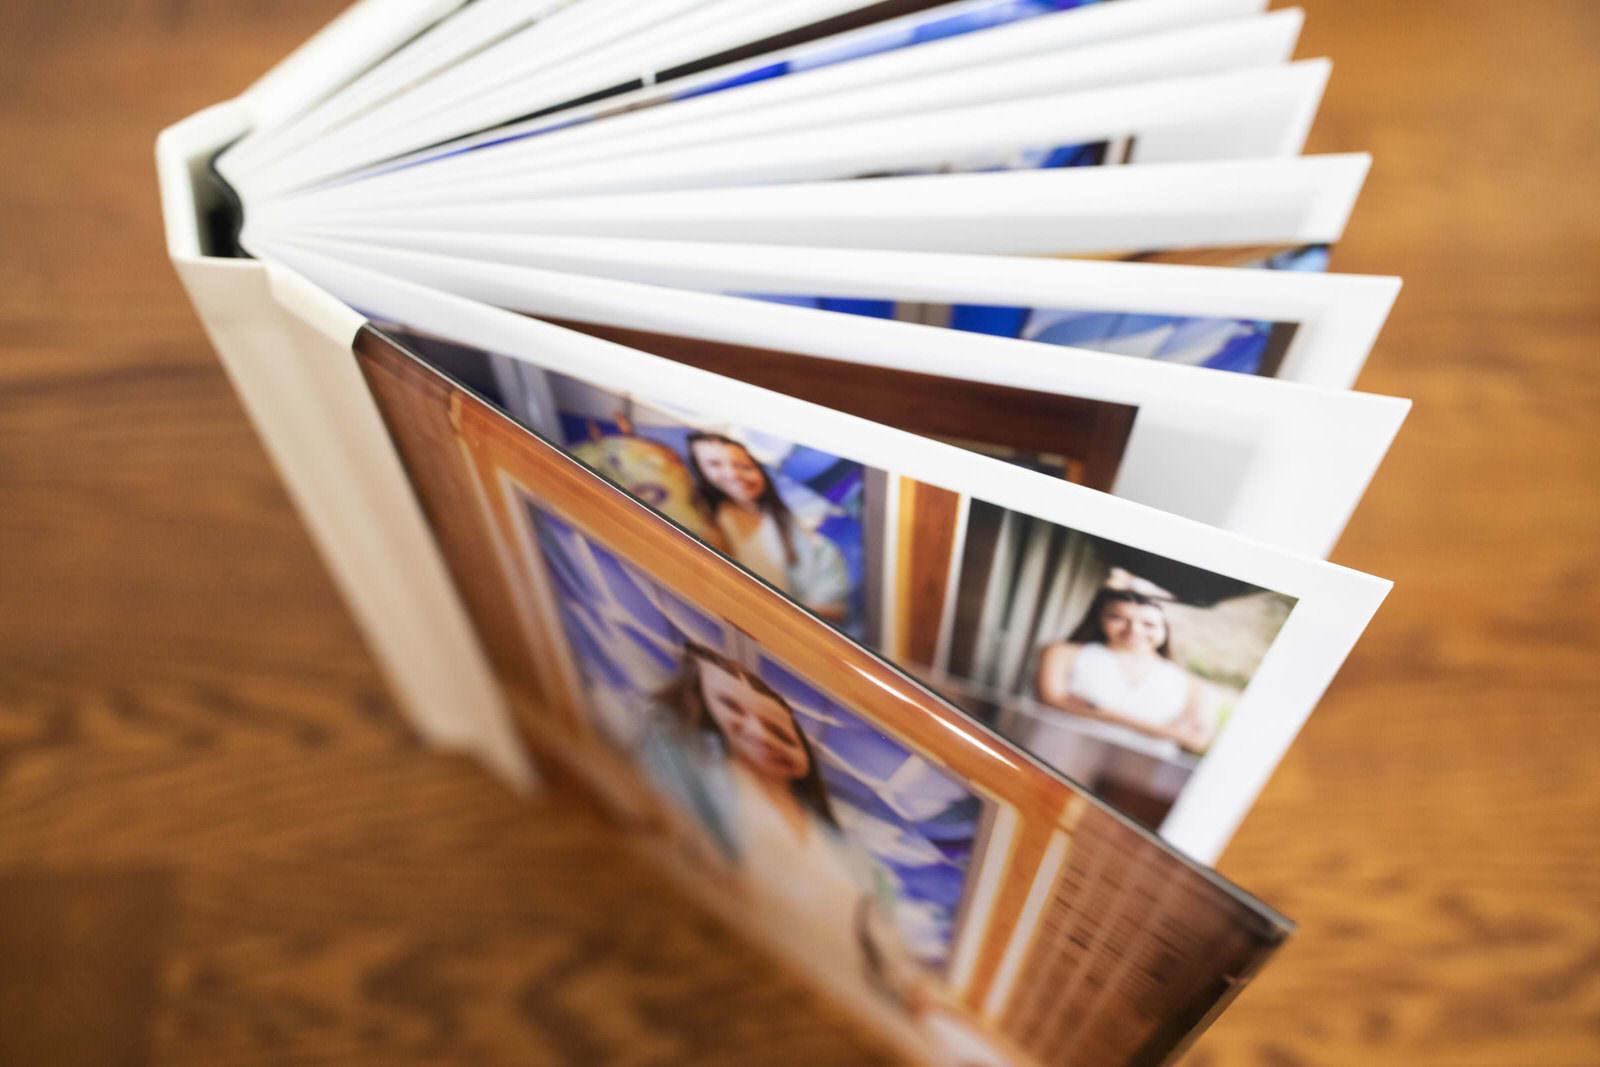
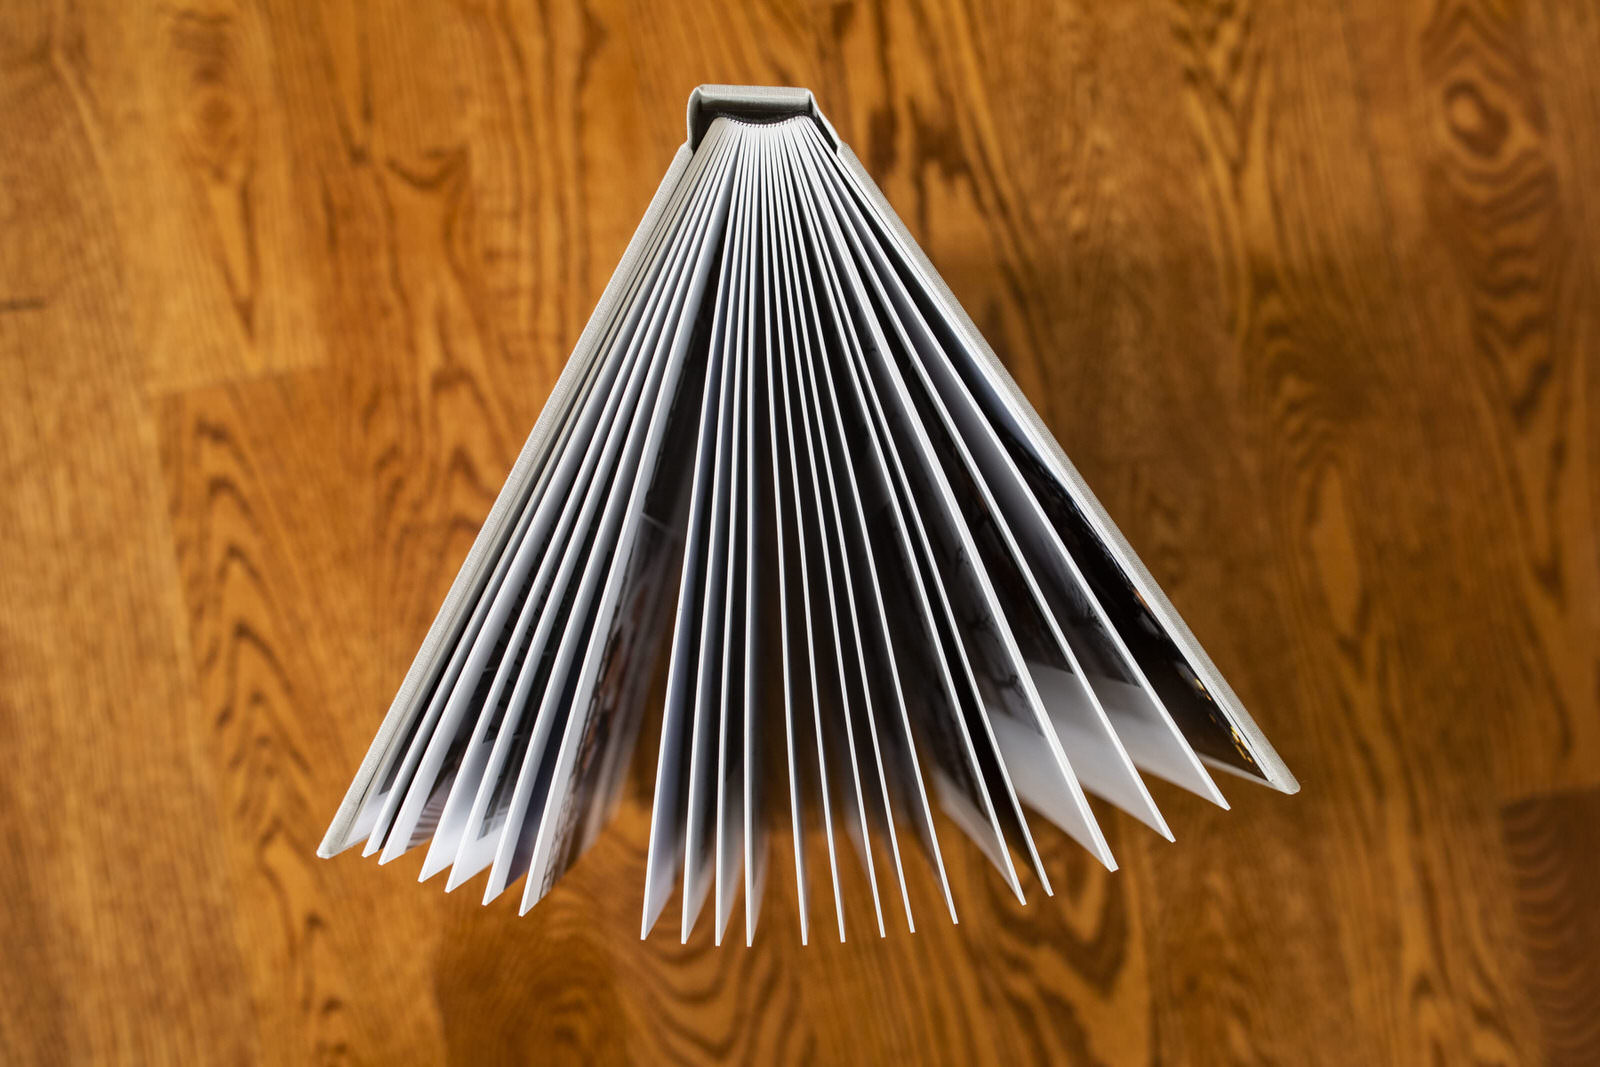
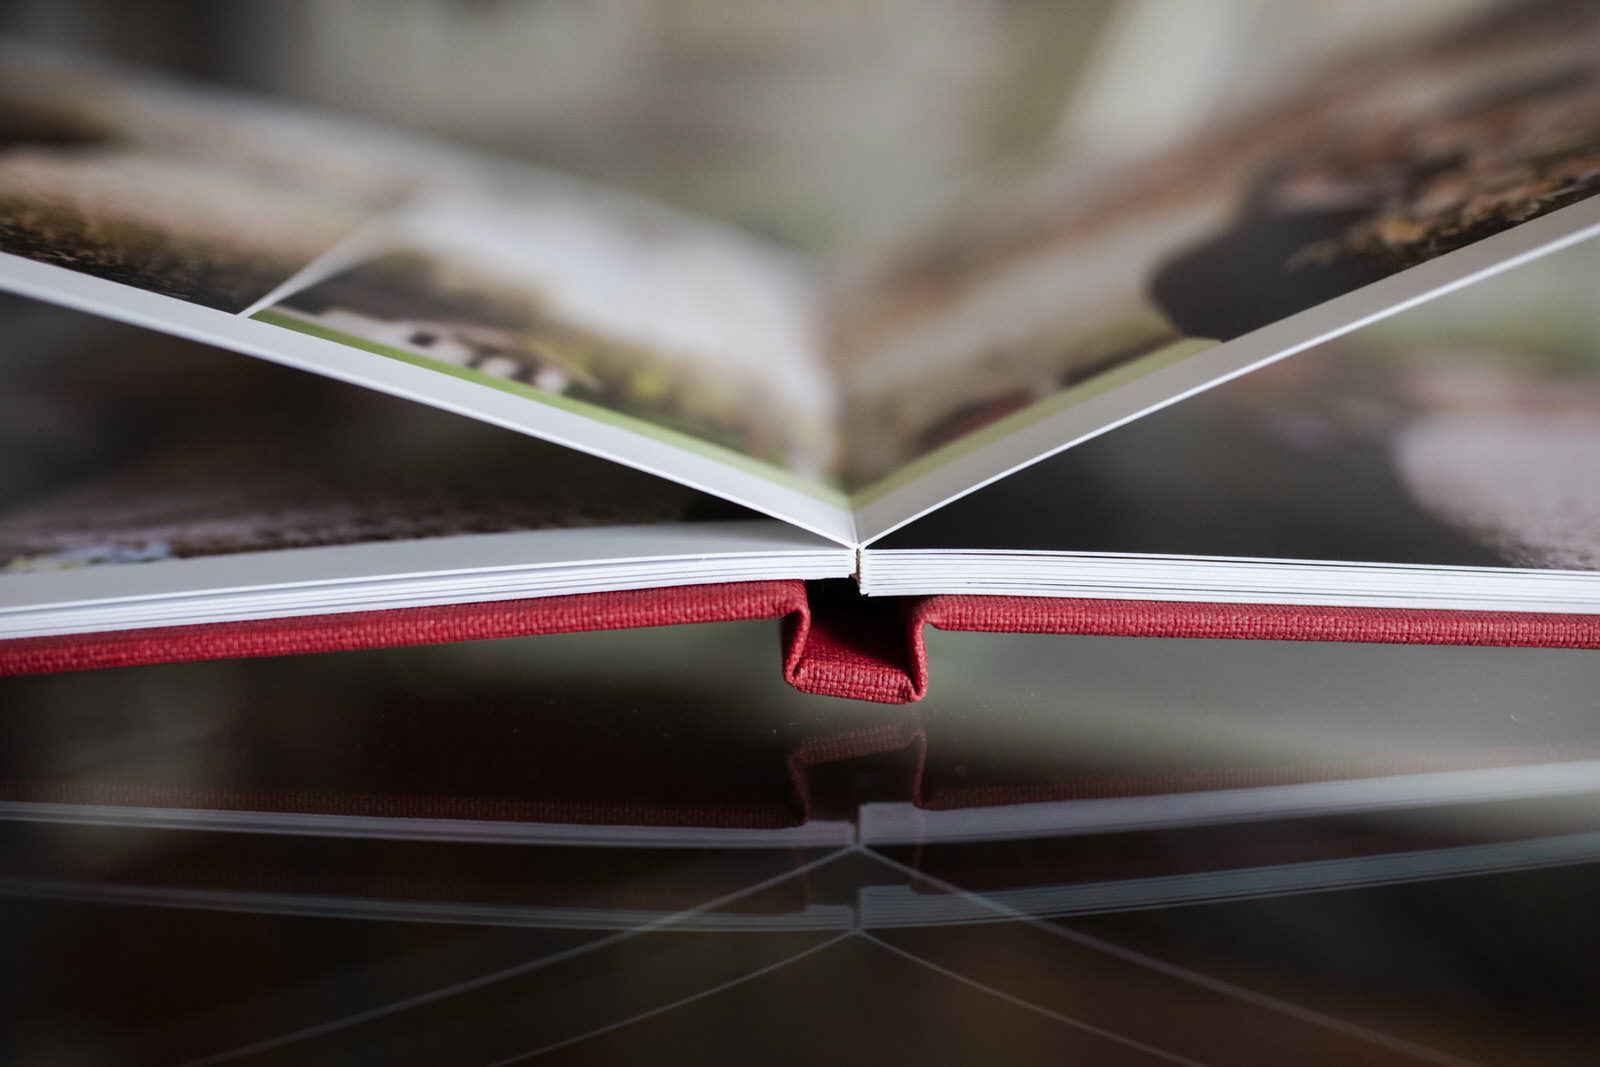
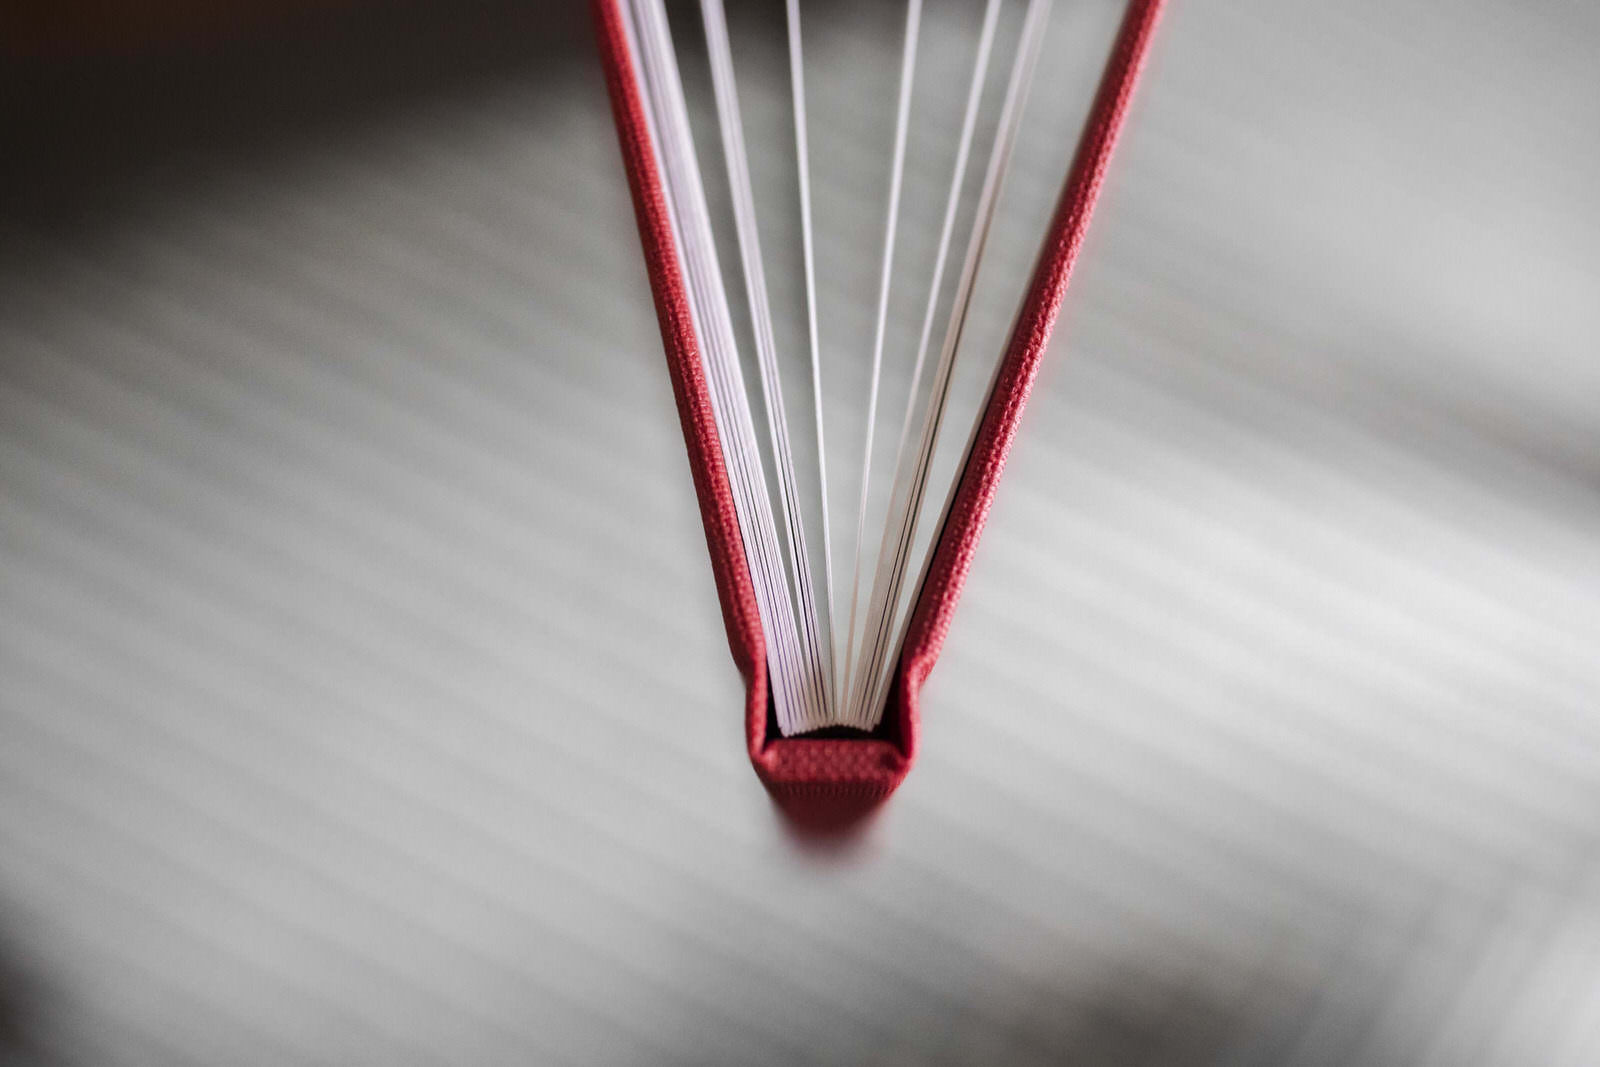
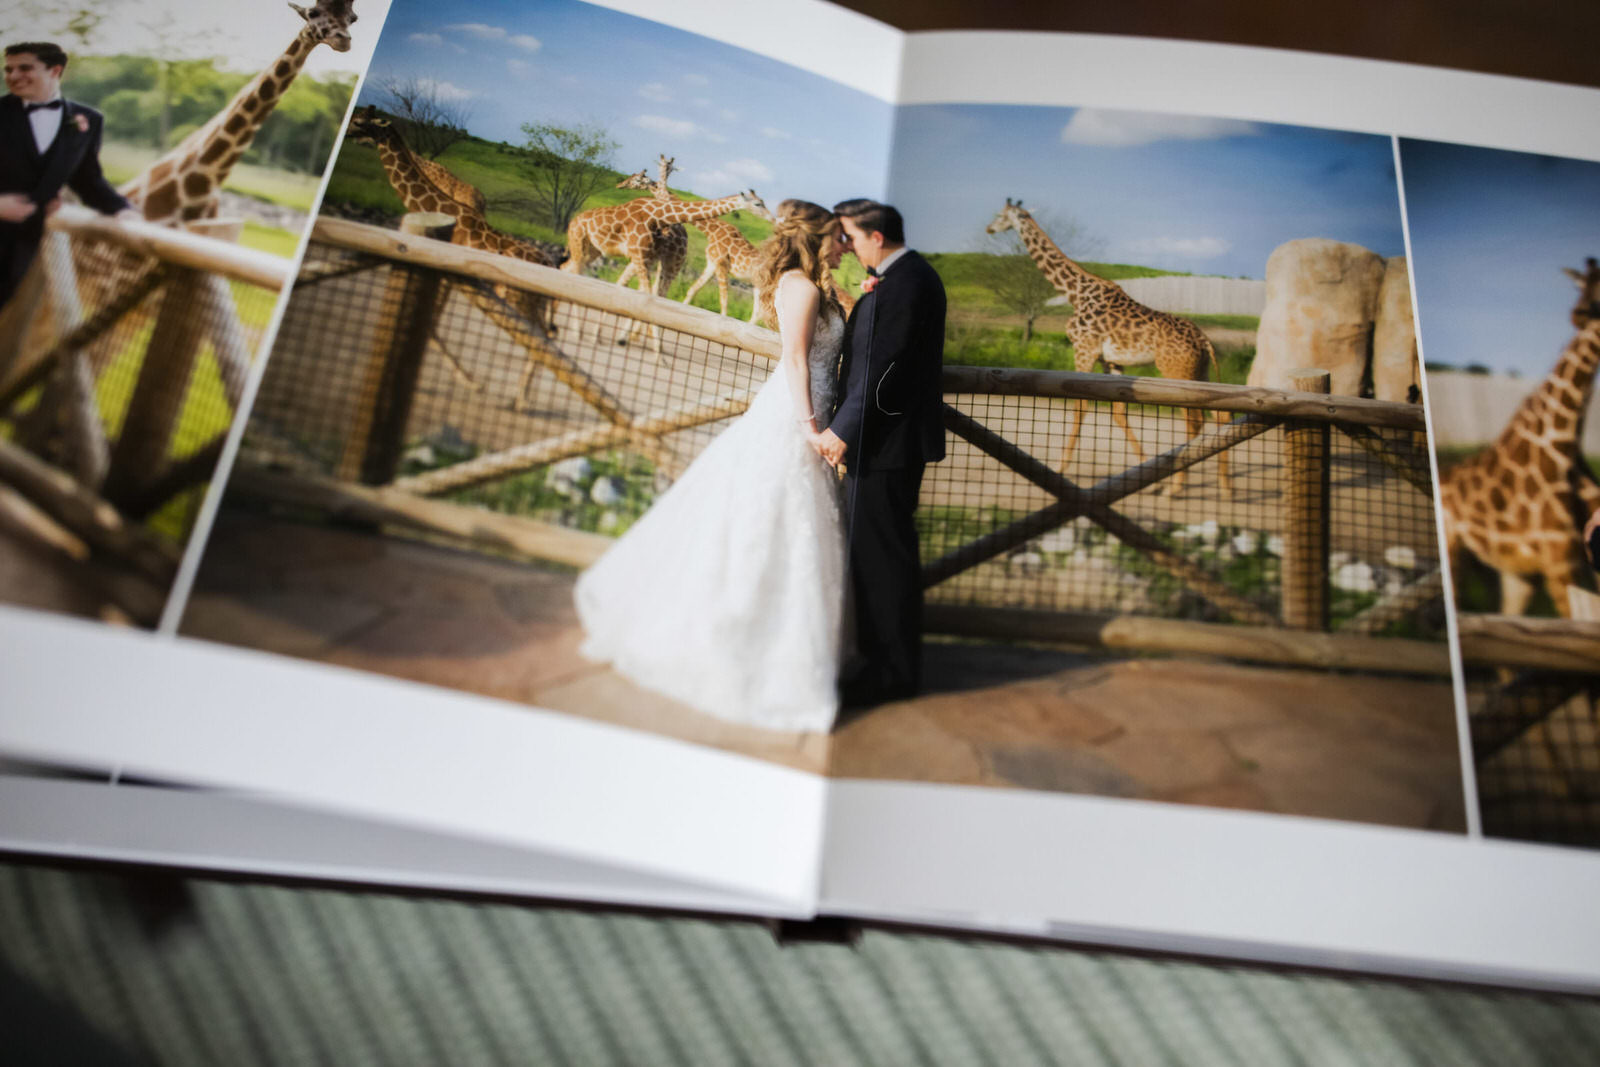
Sometimes clients choose a style based on the budget, sometimes it comes down to true personal preference. While all three books offer lay flat matte-coated pages all the way across, displaying panoramic images without a break, the main difference between the three is the thickness of the pages and the thickness of the cover. The Soho style offers the thickest, most heavy duty board pages, while Essex offers thin, bendable pages, and the Essex Plus falls somewhere in between.
My Essex book is my recommended offering for a parent album, but any album style can be ordered for any purpose!
I recommend the 10×10 size for all my clients, and 90% of my clients end up ordering this size. Other sizes, including 8×8, 12×12, and many others, are available upon request.
However, if you’re not sure what style you want right away, you can skip directly to Step 2 and decide later!
Step 2. Images & Design
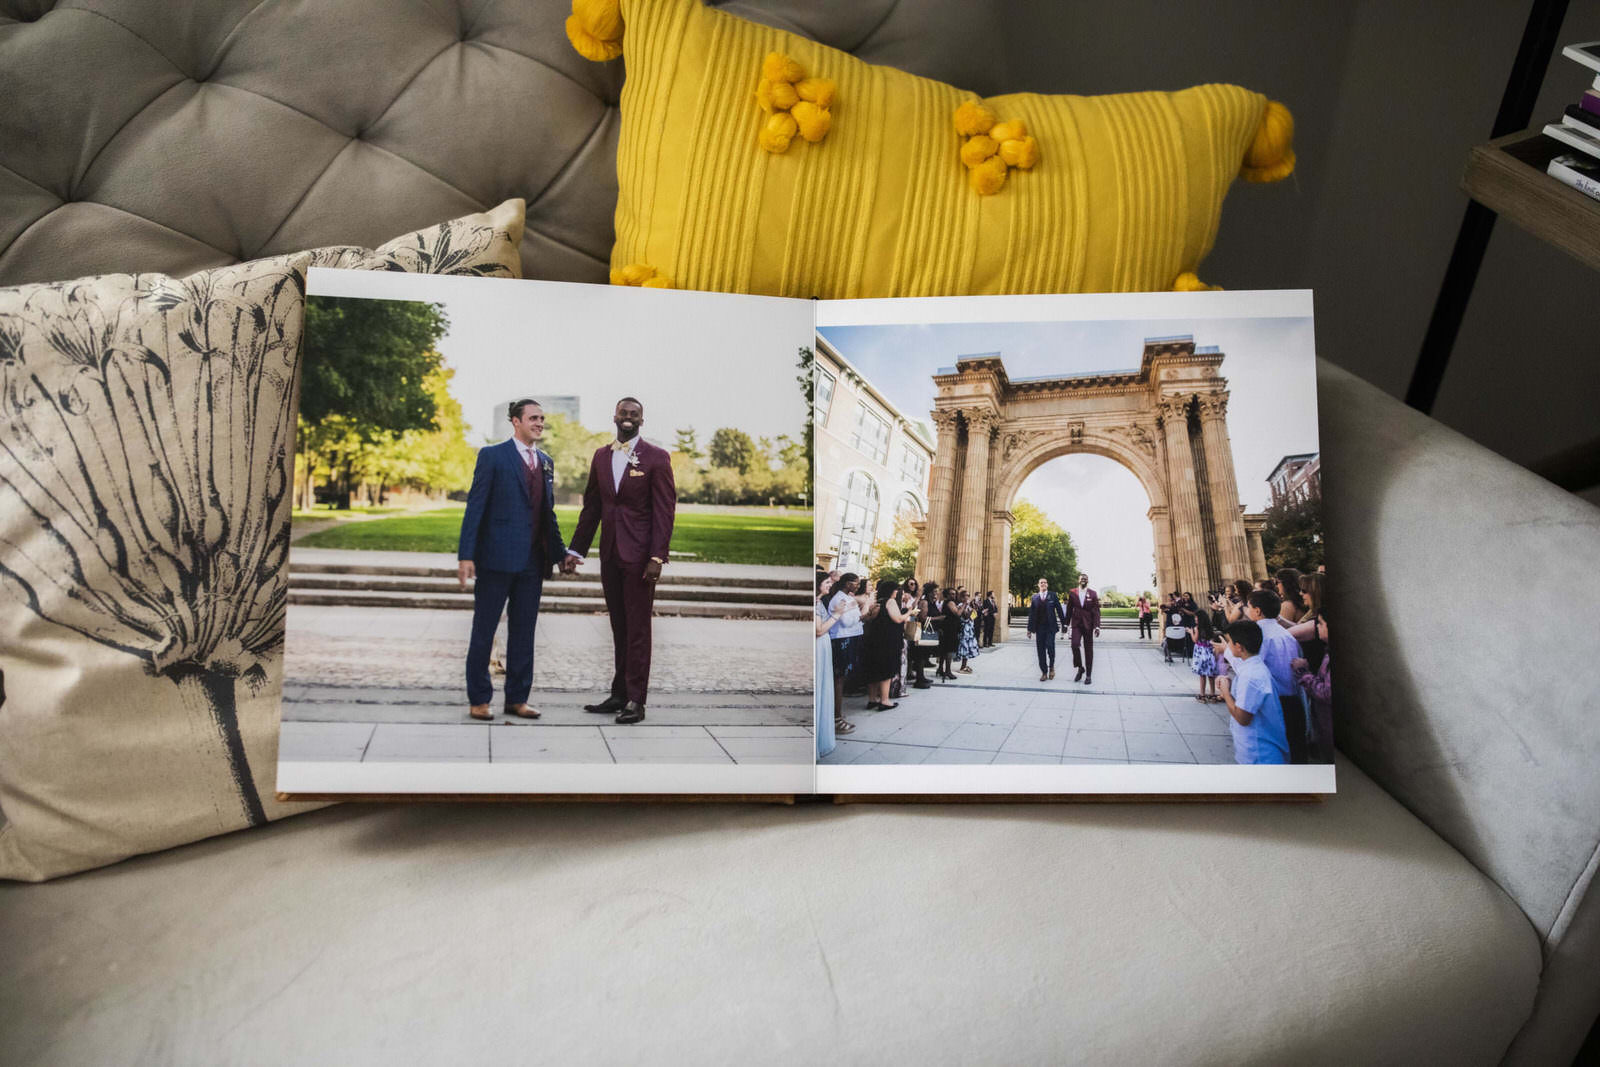
The step that really gets the process going is deciding how to pick the images. Since often times I’ve been in and out of my client’s images more than they have, I like to recommend letting me choose their images for the initial design. However, some clients prefer to pick their own images and that’s totally fine. In helping my clients pick images that tell all the events of the day, I can provide them with a sample breakdown based on their specific timeline. Alternatively, some clients choose to pick a handful of “must haves”, and I fill in the rest. This is especially helpful if they are focusing on portraits of important people, in portraits and on the dance floor, that I wouldn’t otherwise know they want represented.
My albums start at 15 spreads, with most full day weddings landing at somewhere between 15 and 20 spreads. Most albums represent around 80-100 images, more or less. But my books can hold even more spreads if desired!
Next, I put together the design! I share my first design proposal over email. Regardless of who picked the images, my clients have the ability to request design and image changes. We can review this over email, Zoom meeting, or in-person meeting (not during a pandemic :)). Every album order includes one round of changes.
Step 3. Final Album Selections
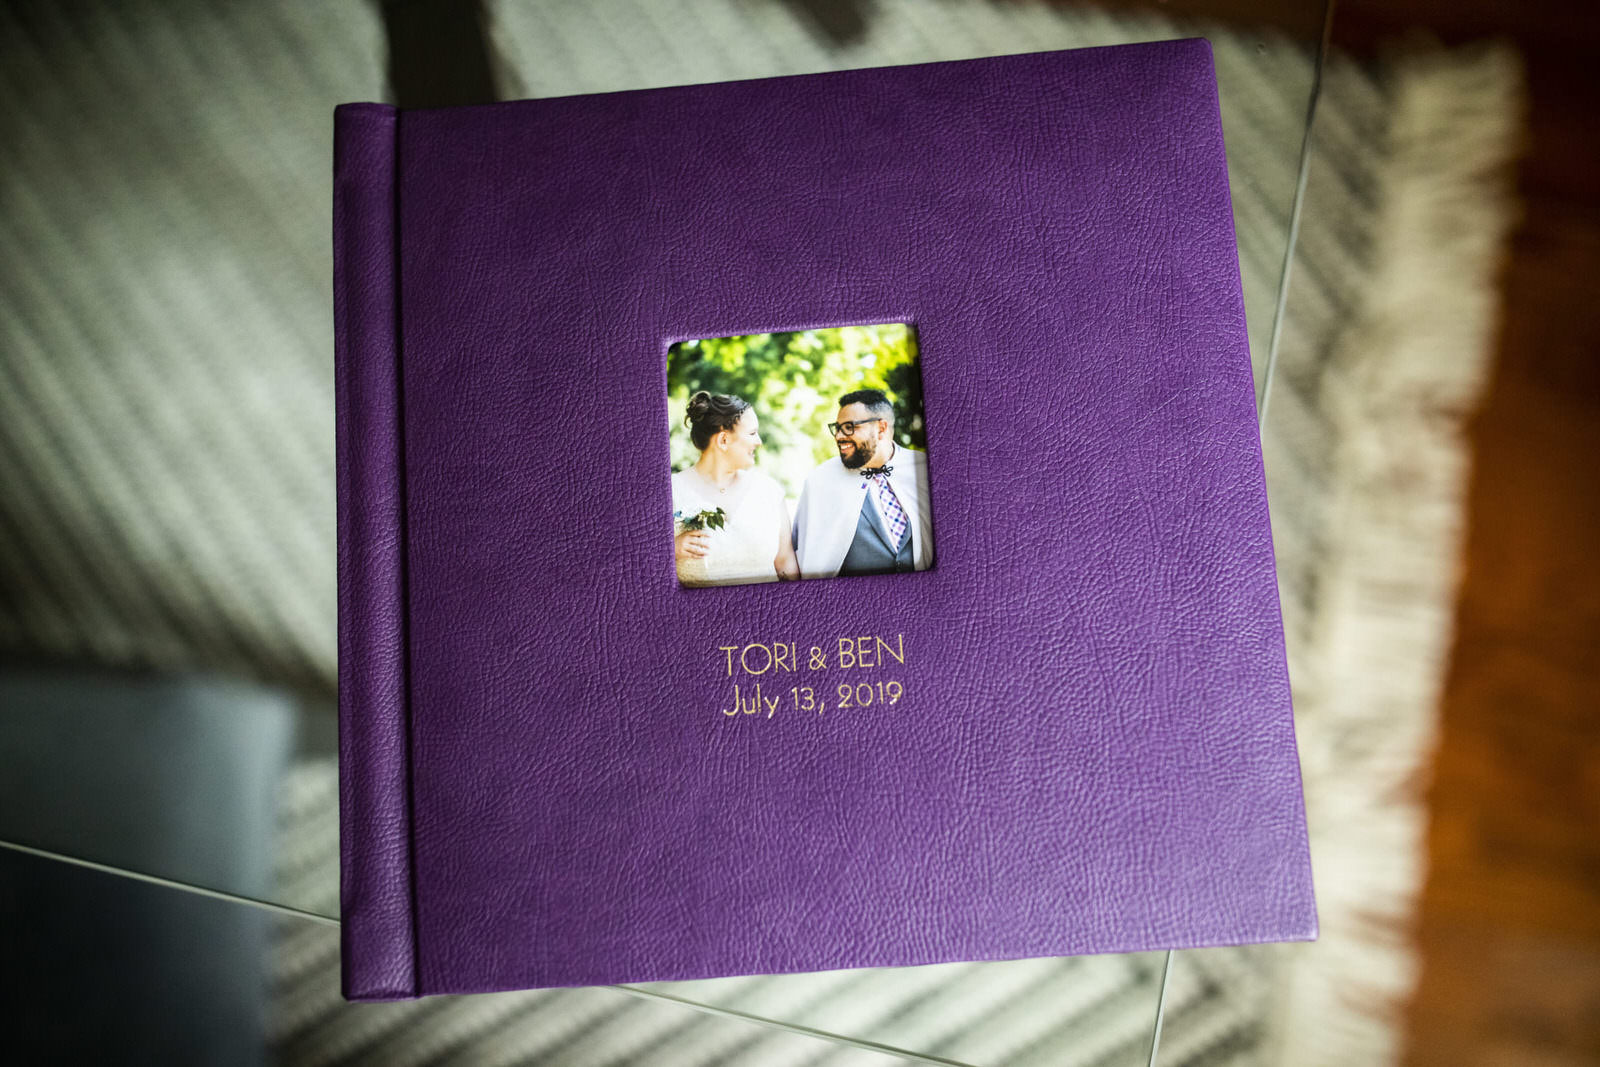
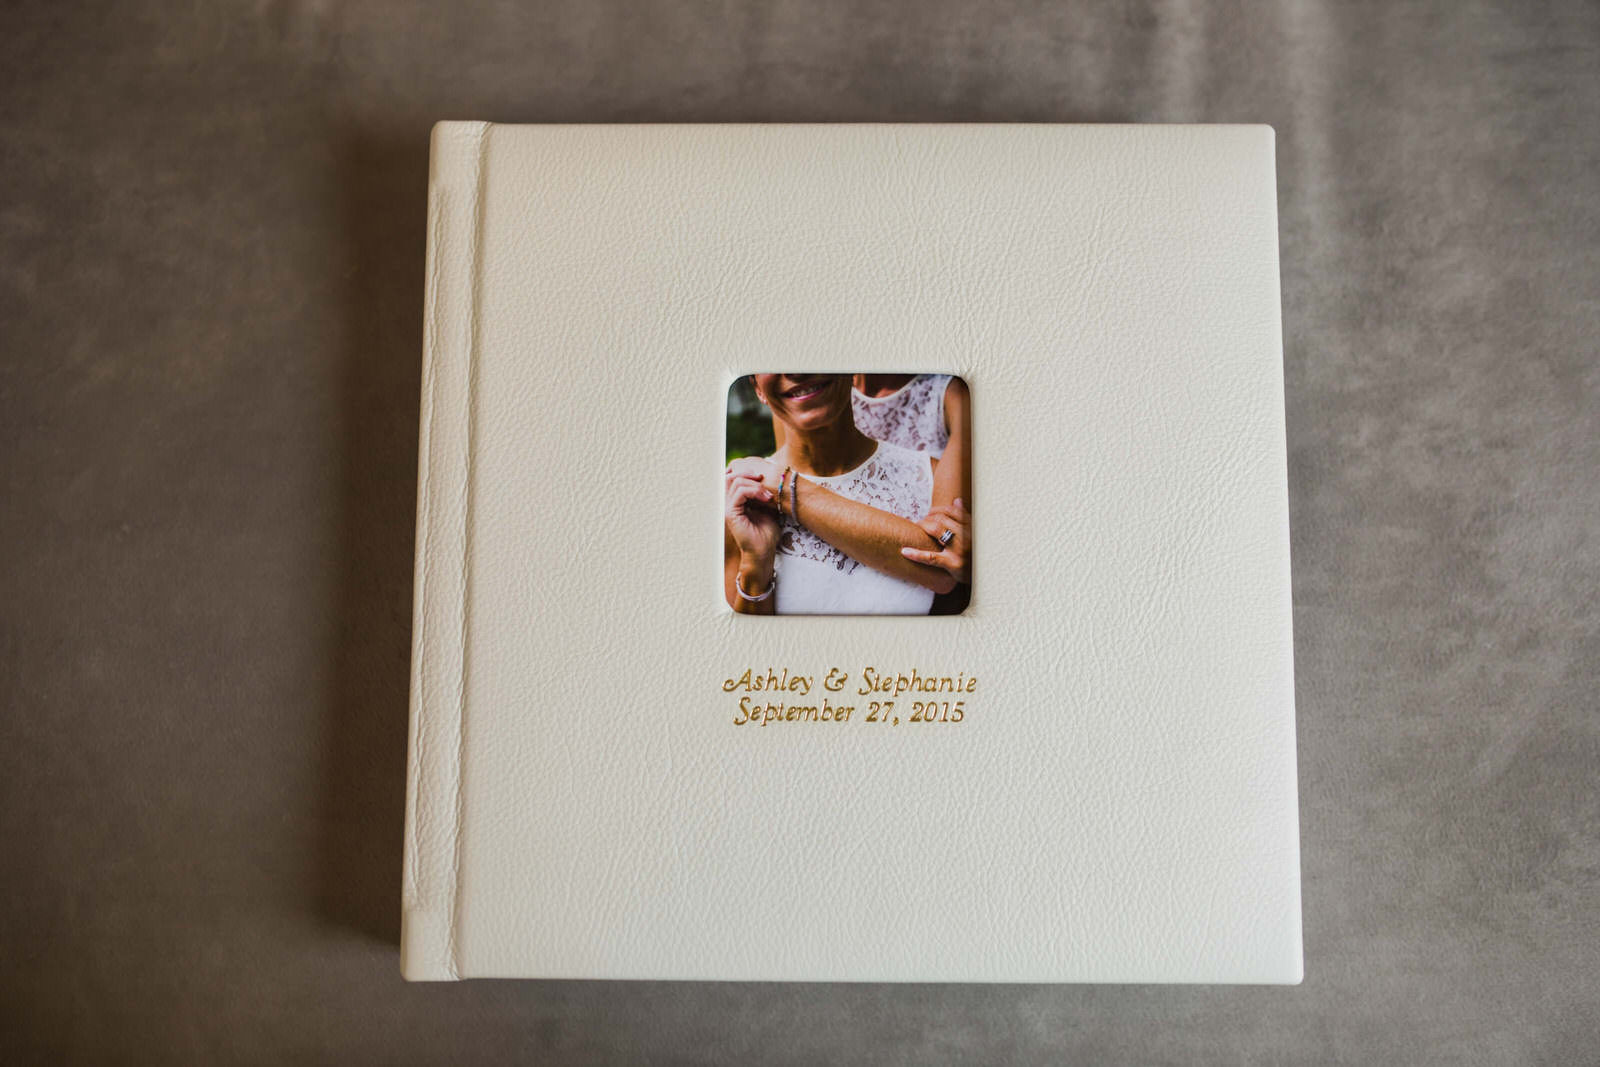
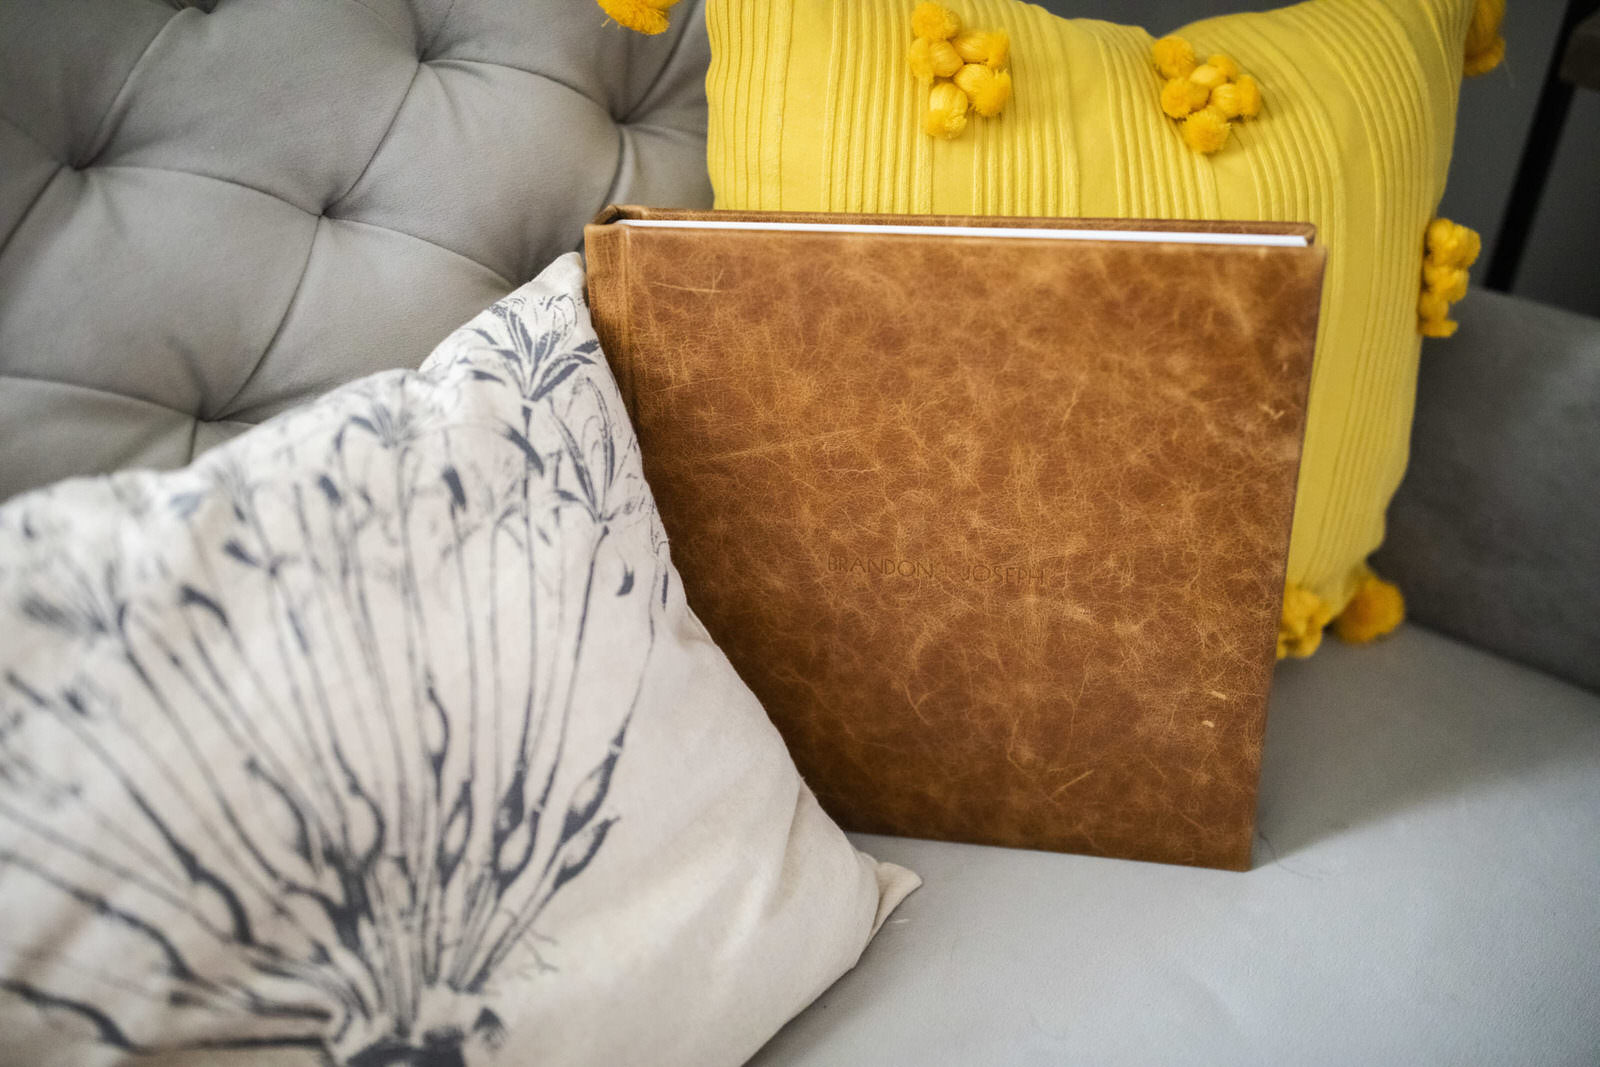
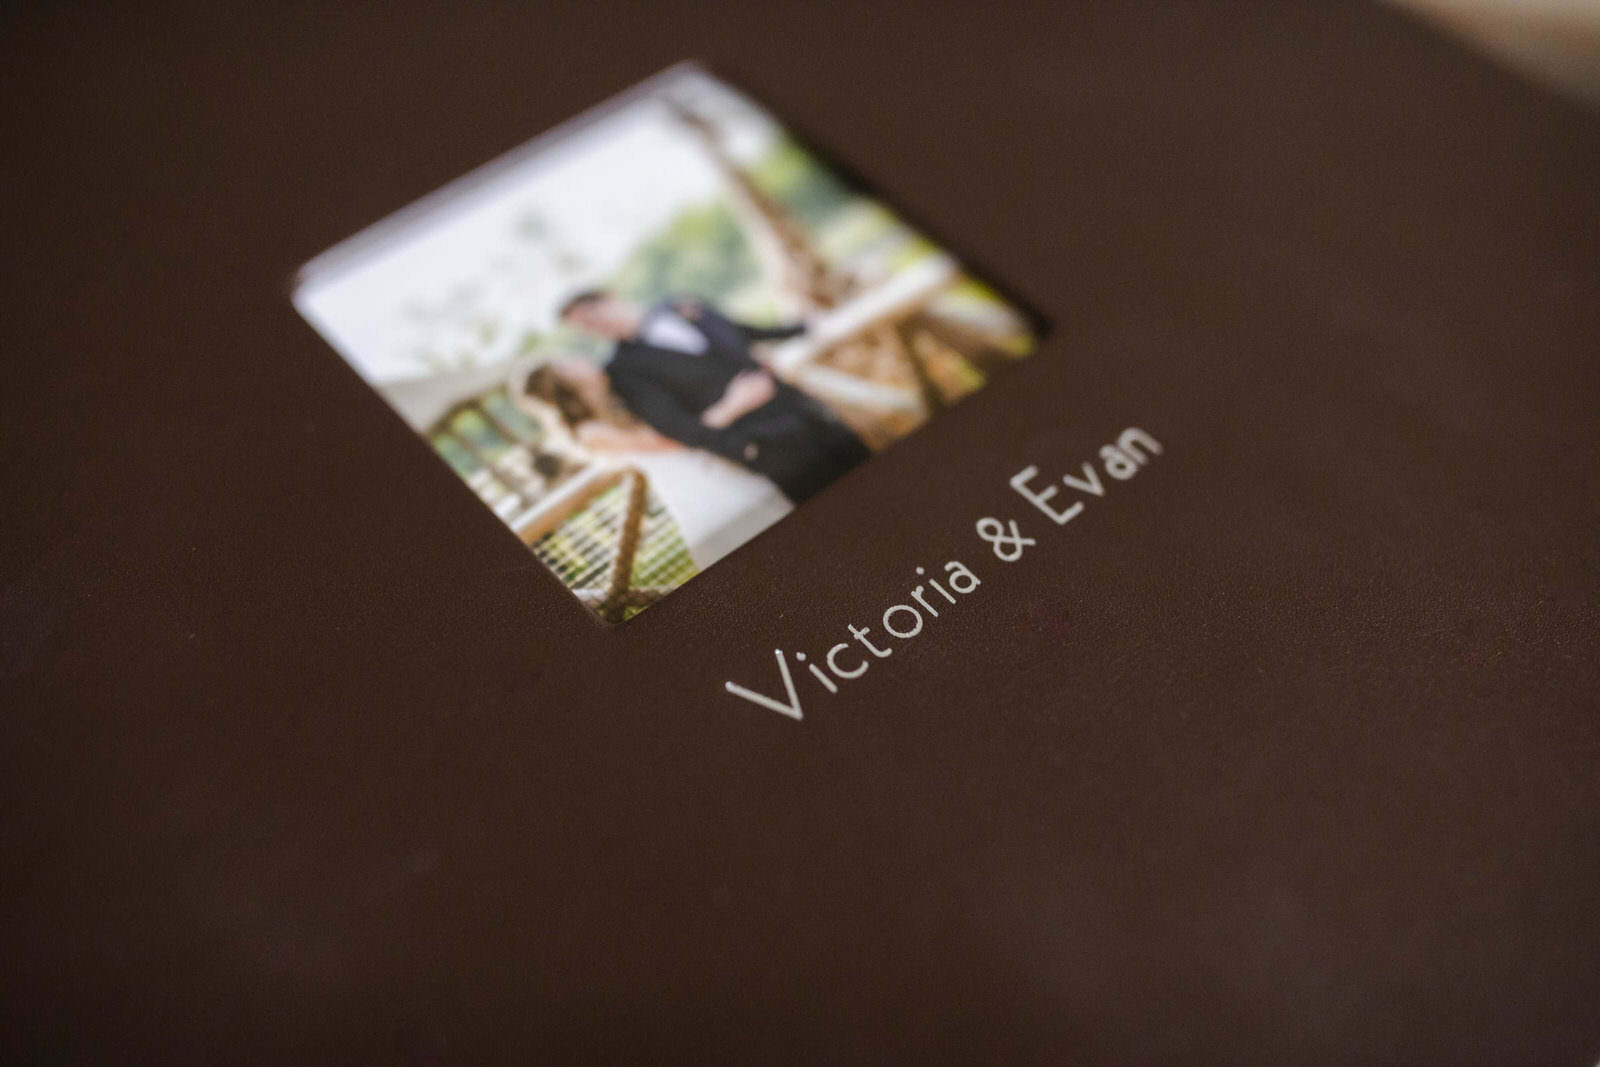
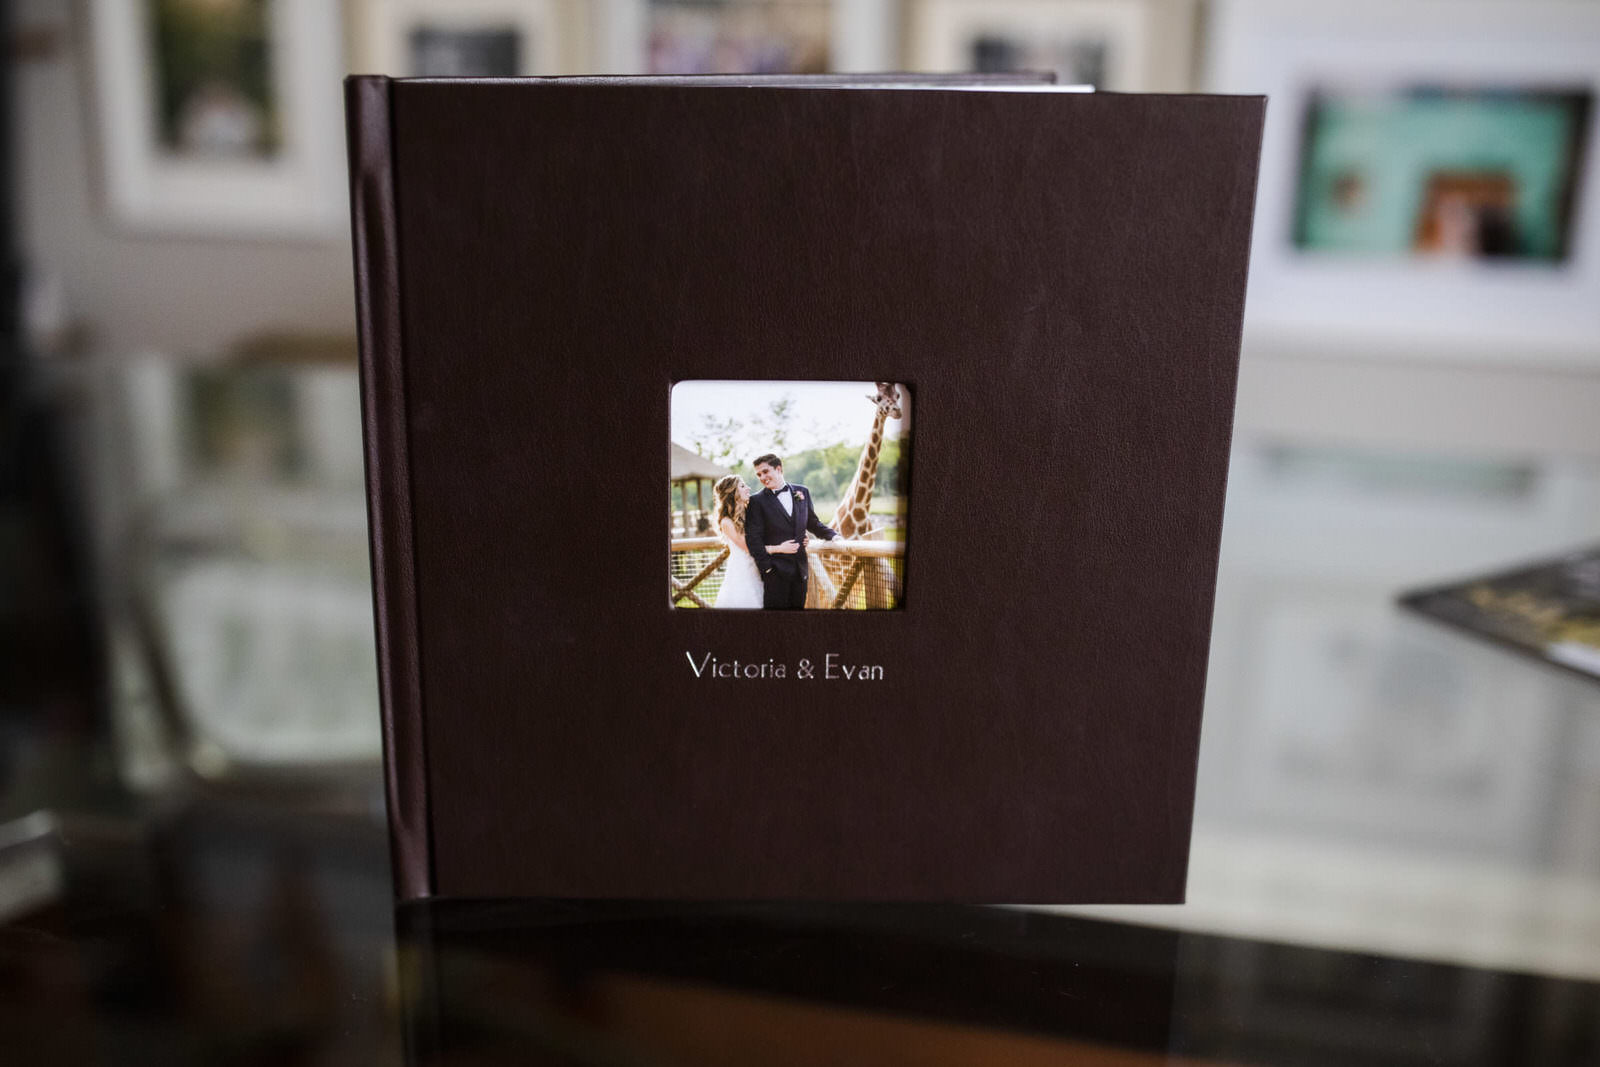
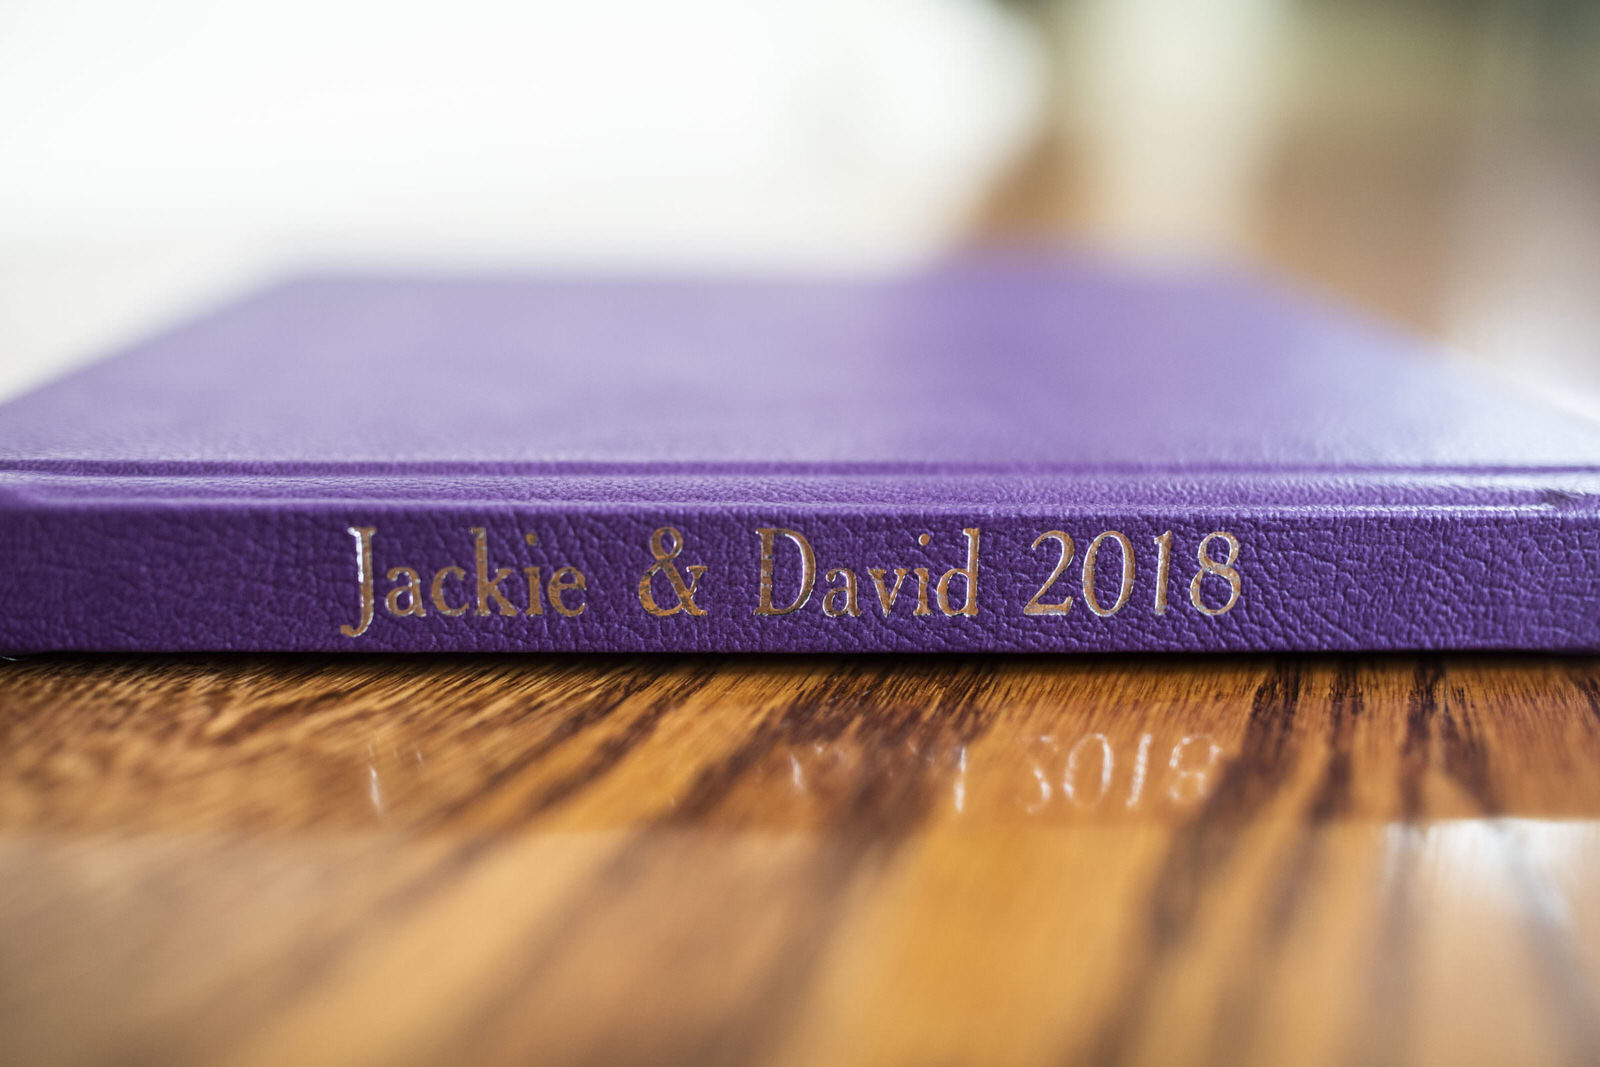
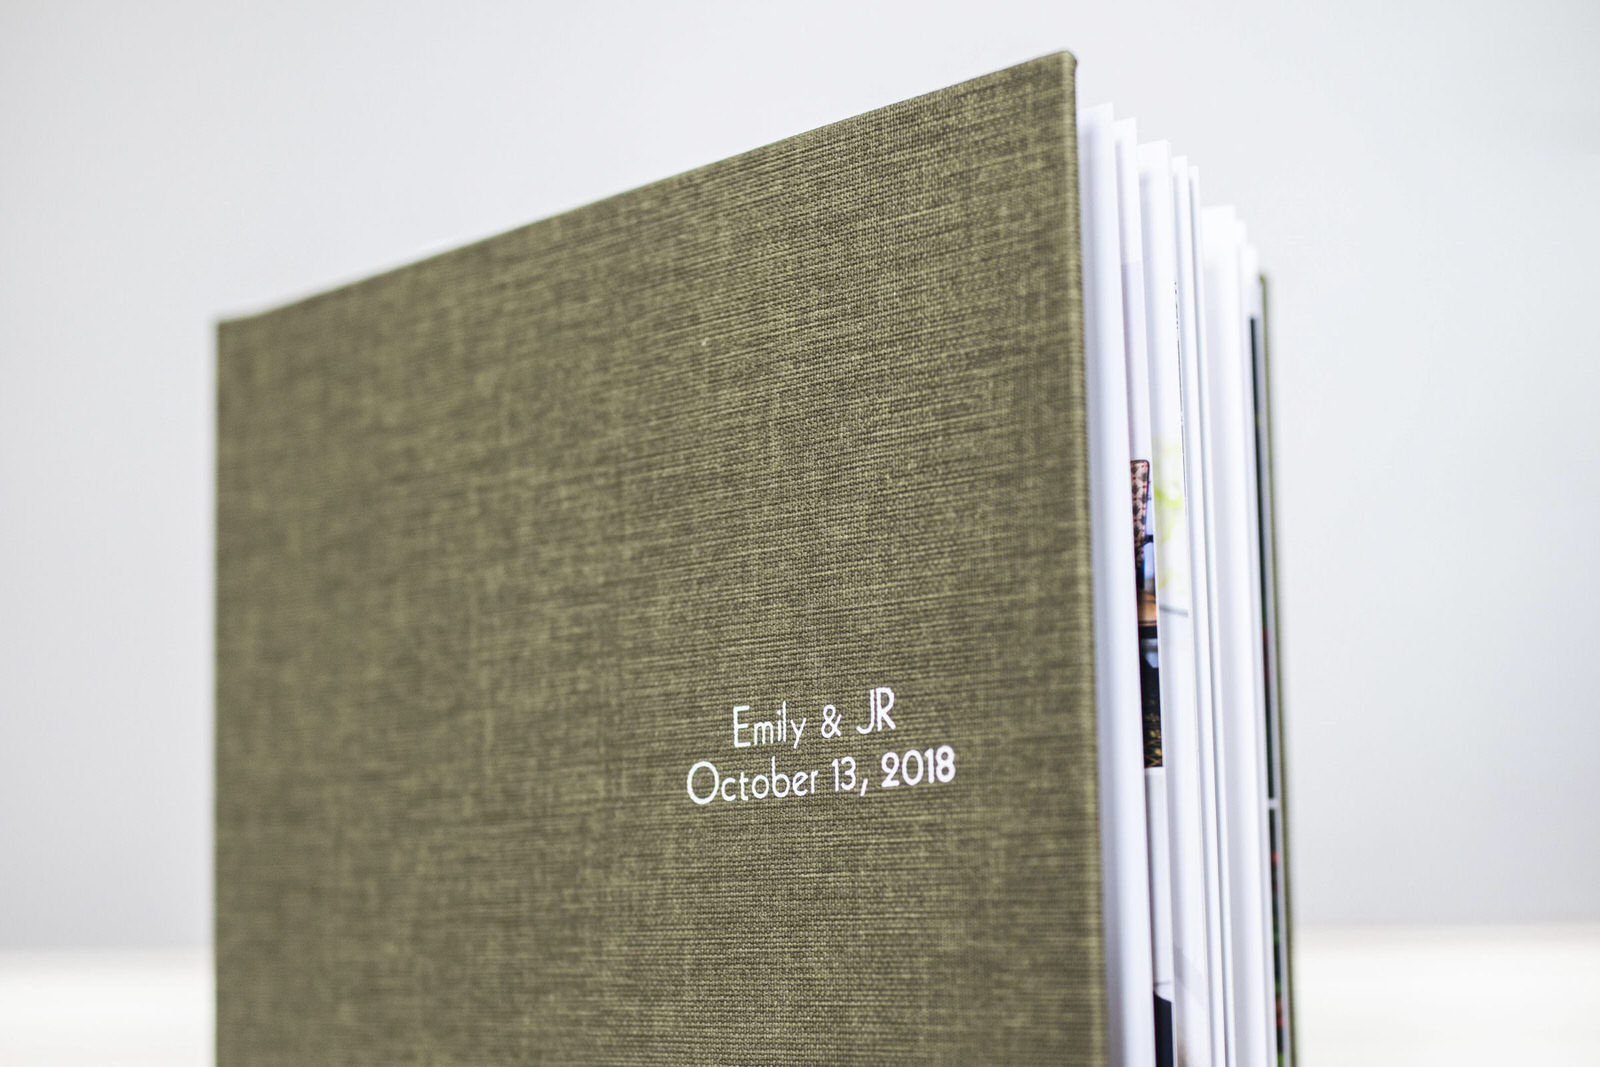
Once our design is finalized, we move on to making our final album selections: album style, album cover, and any other upgrades desired. Upgrades can include: imprinting on the cover and/or spine, cover opening, premium cover (leather, acrylic, two-tone), extra spreads, custom premium box, raised letters, etc. Custom imprinting is available too, using your wedding monogram for example!
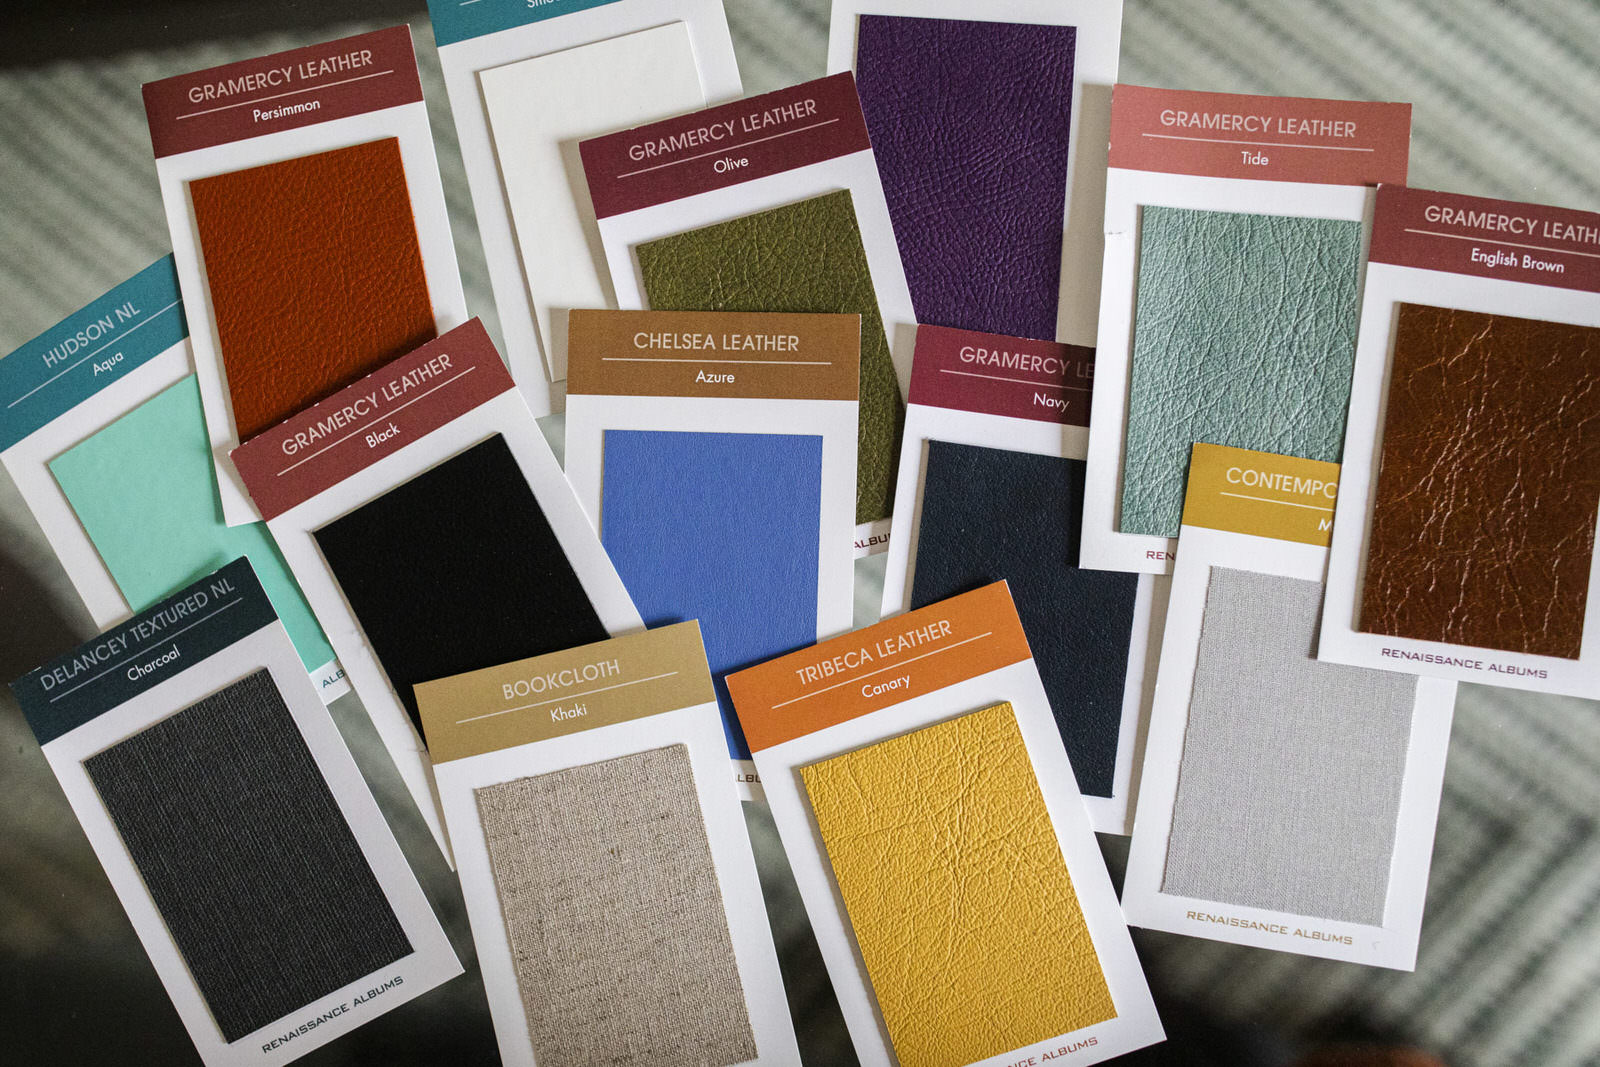
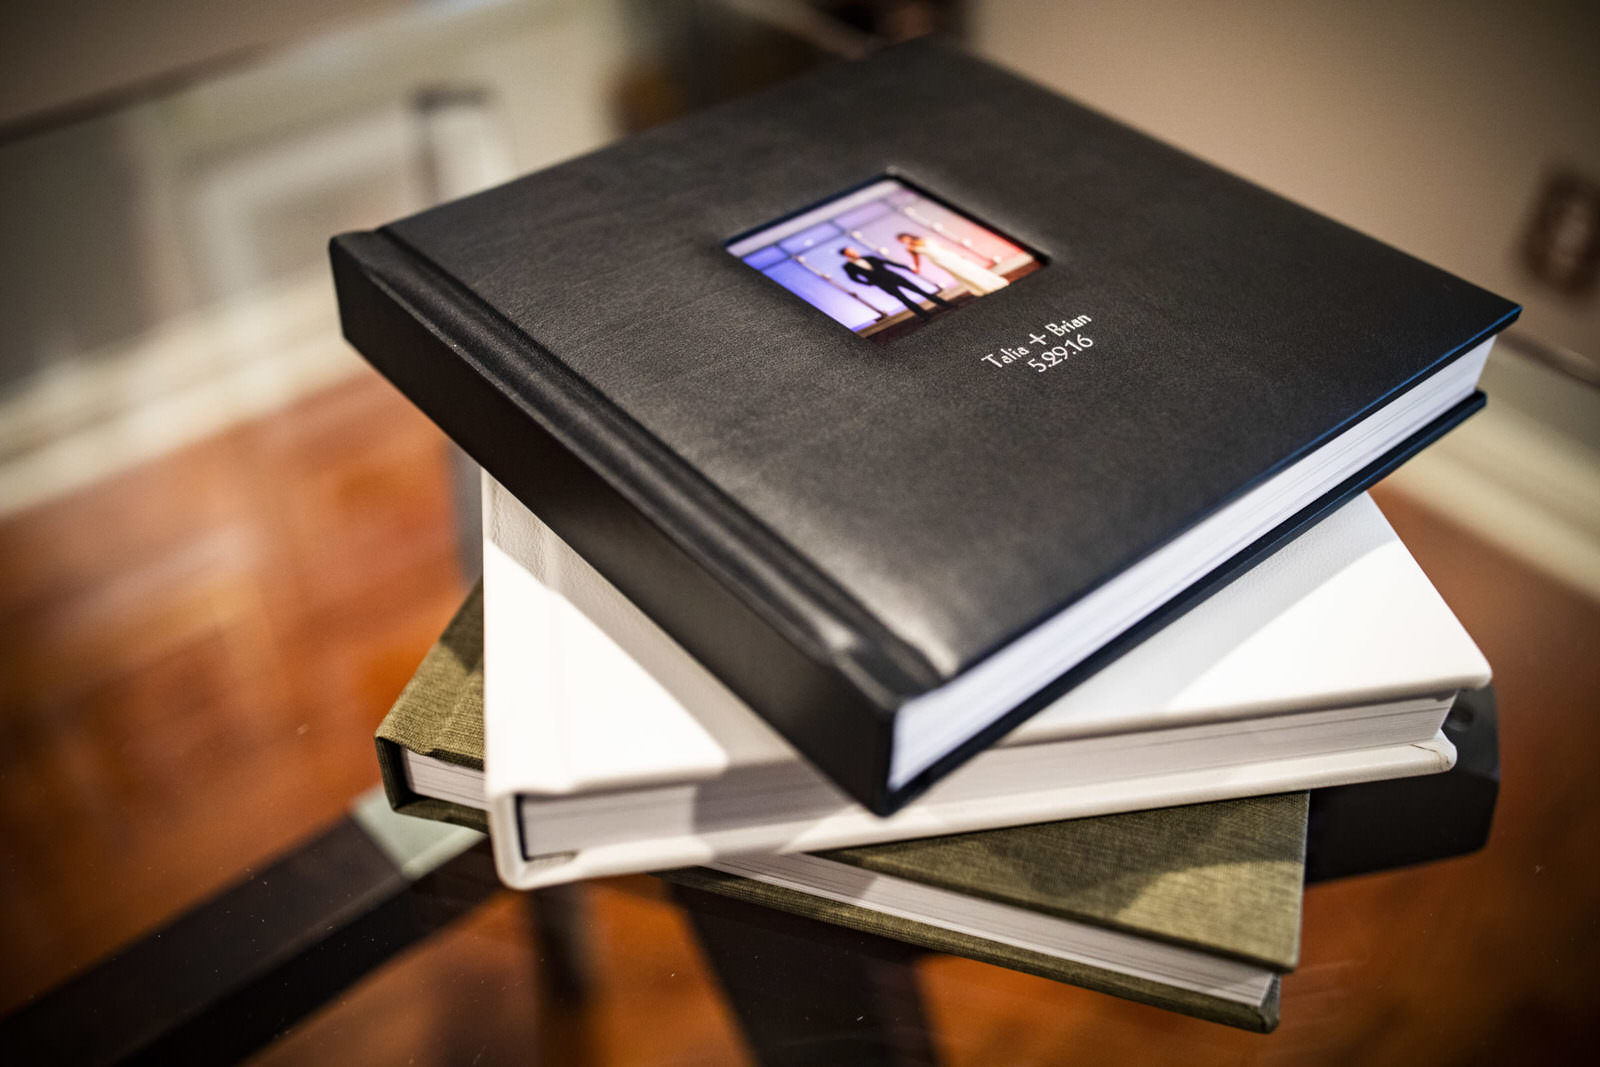
And the covers! From colors to fabrications, with over 100 options to pick from, you’ll have no trouble finding a cover that compliments your wedding day. You can go with a classic neutral, or you can have fun with color!
Popular fabrications include: leather, faux-leather and linen. Popular colors include: gray, white, navy, black and brown.
And from there, it’s off to the lab!
And now for some examples!
(on mobile, this is best viewed in landscape – turn your phone 90 degrees)
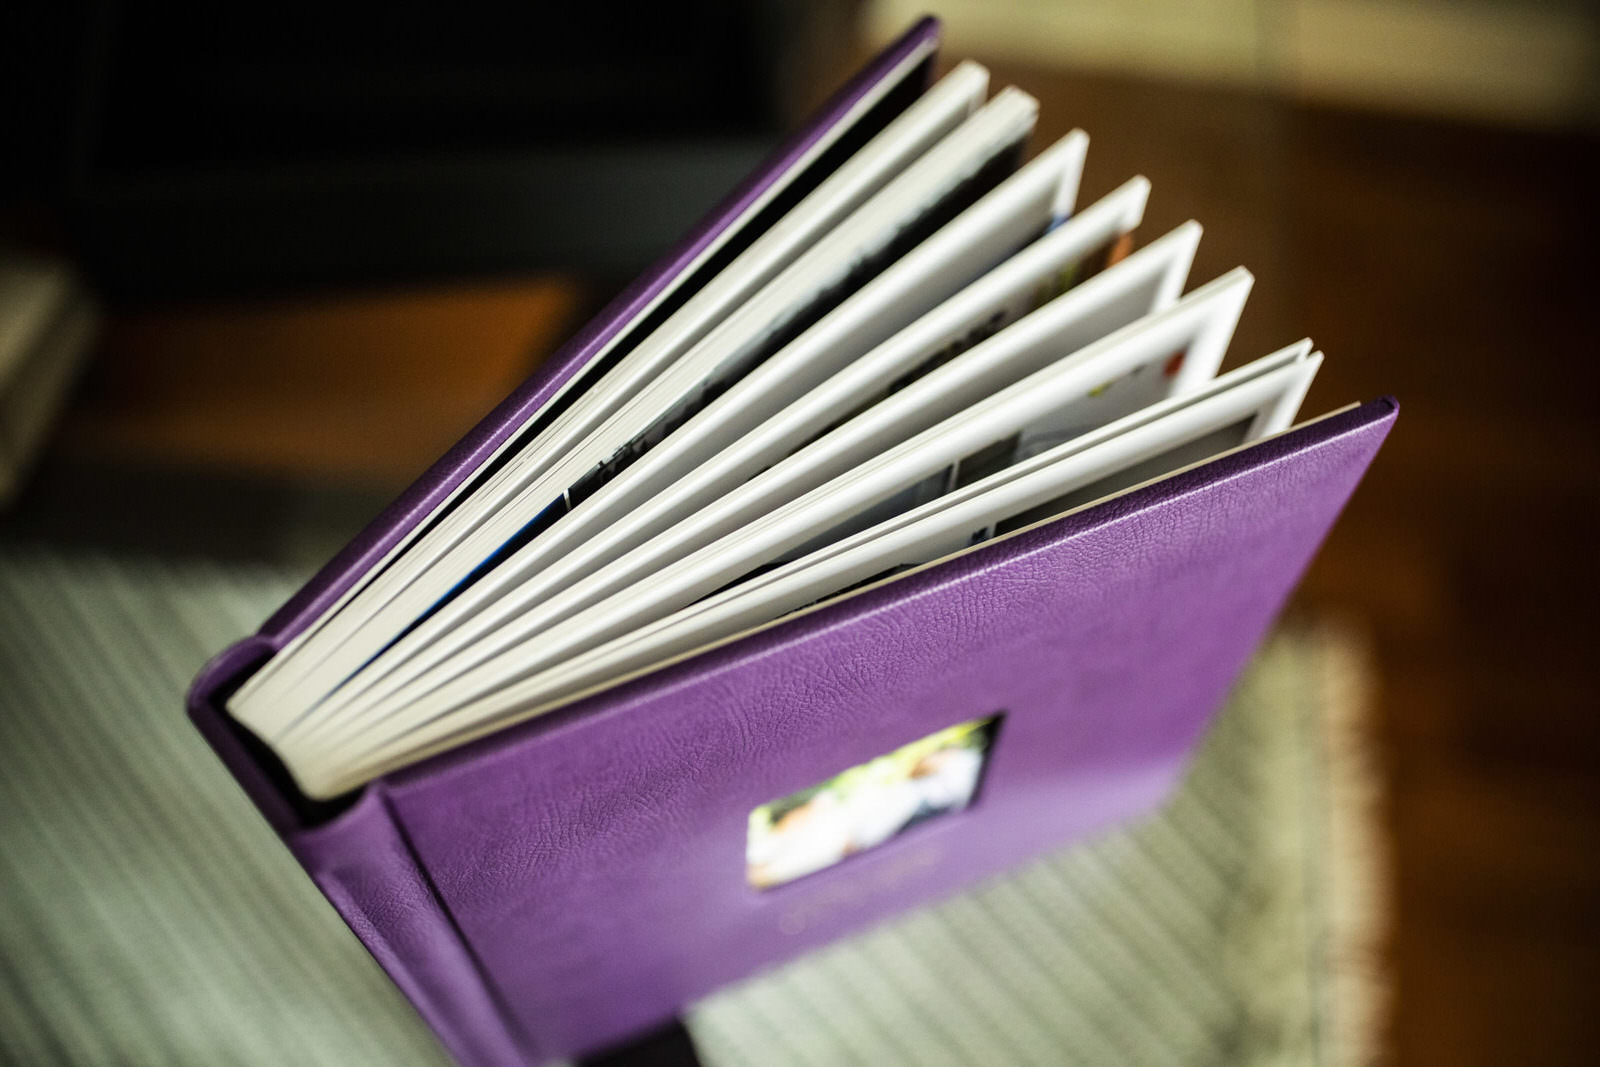
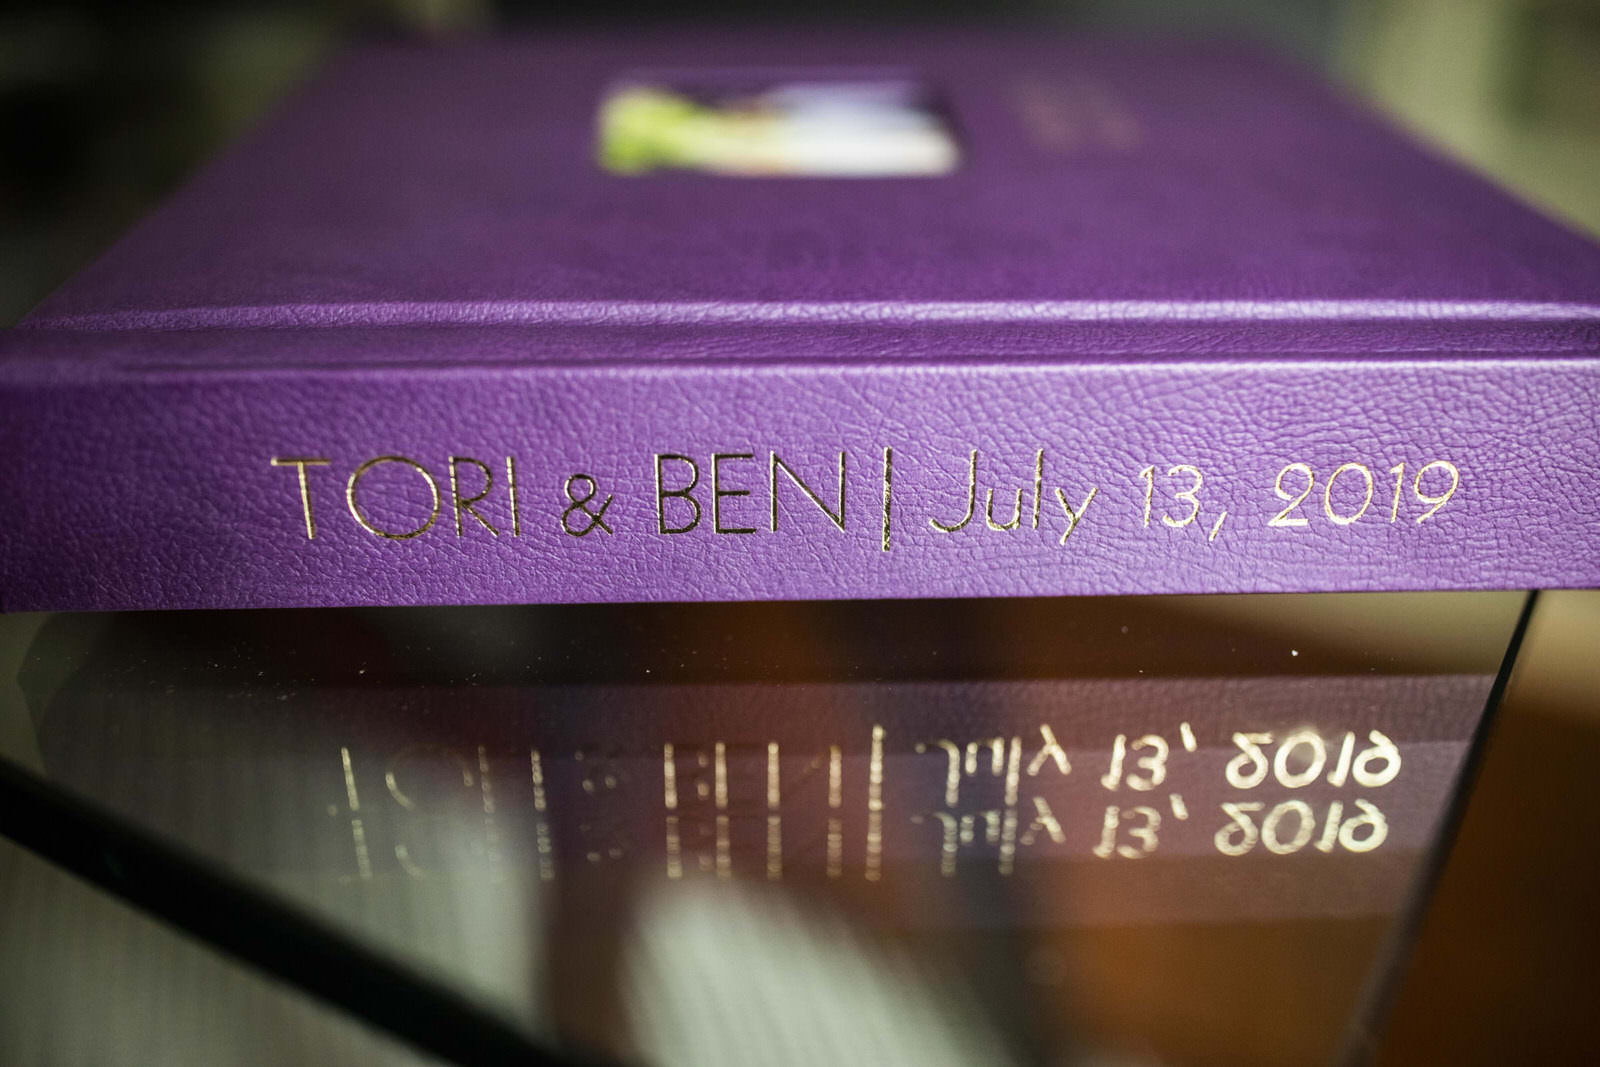
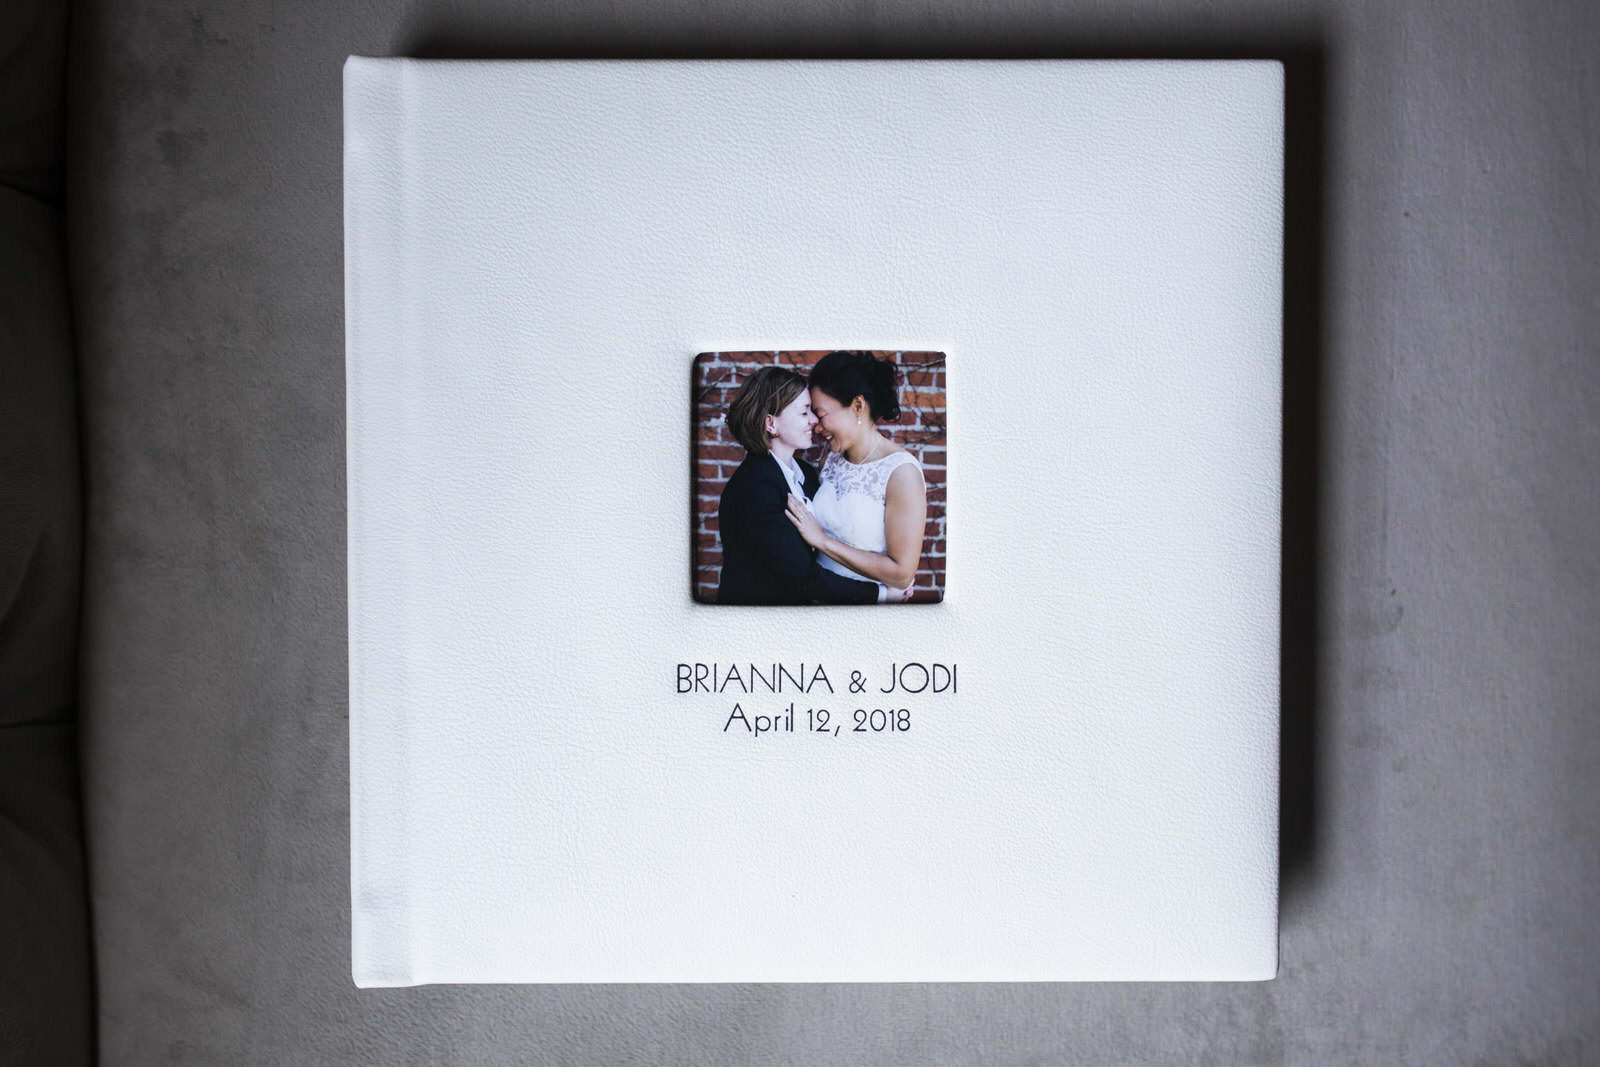
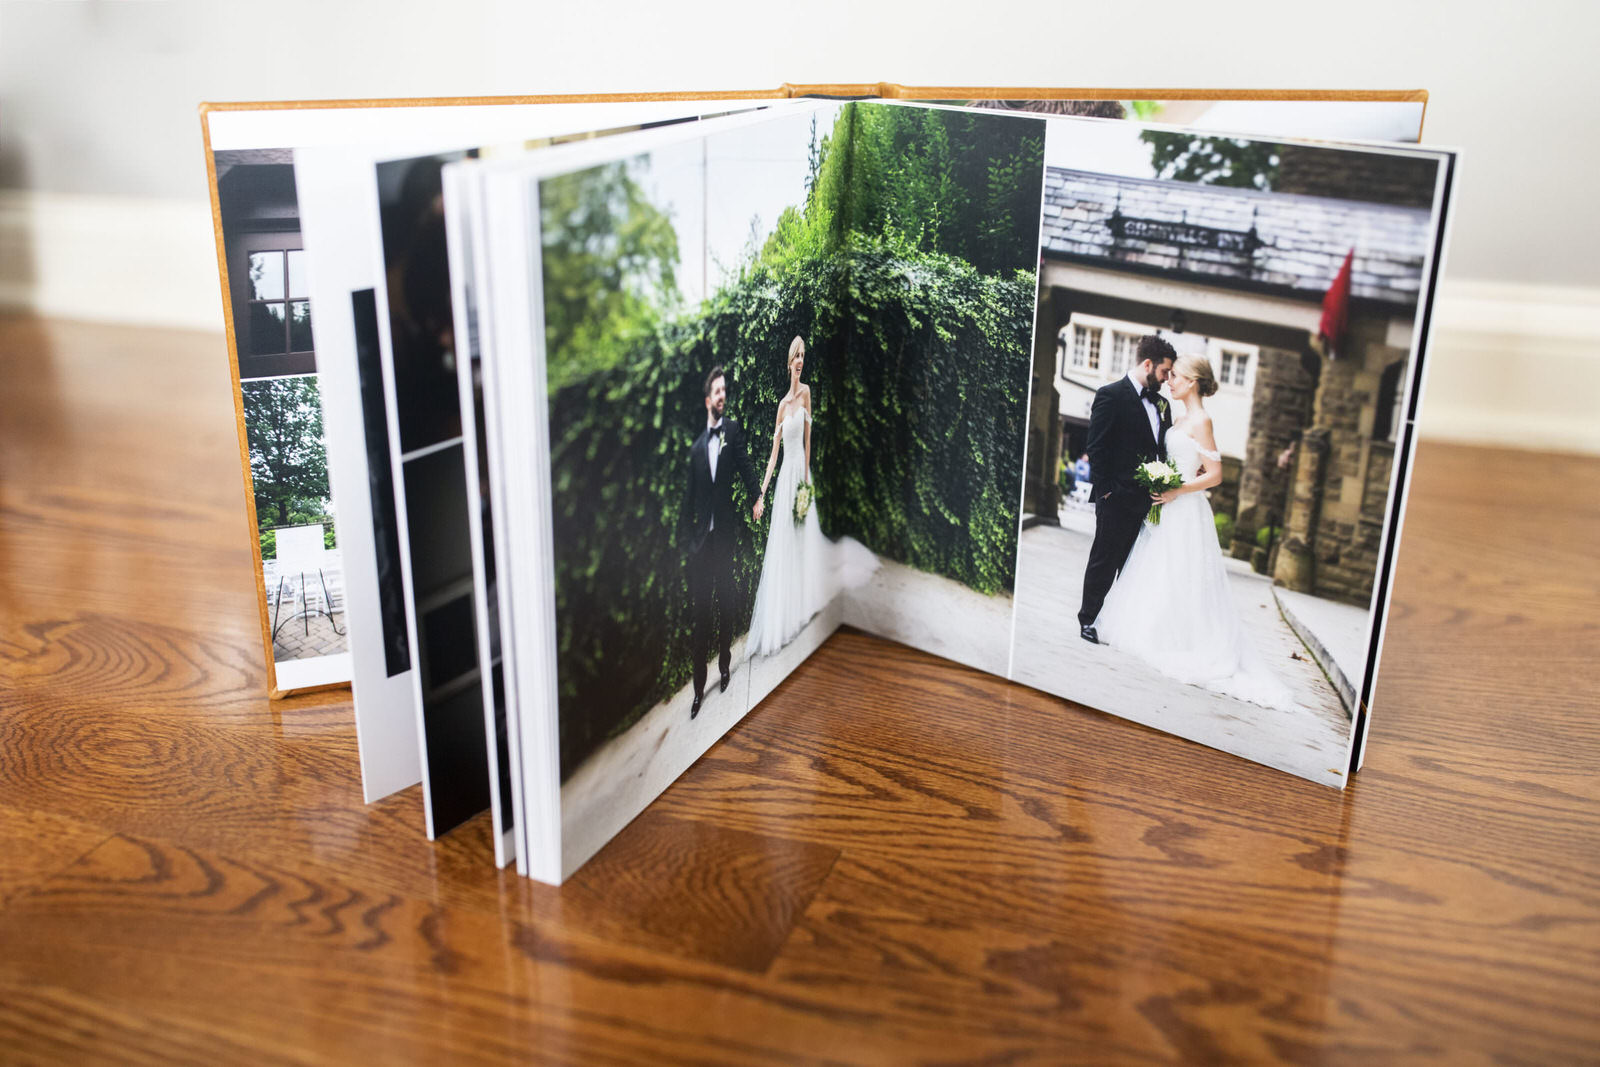
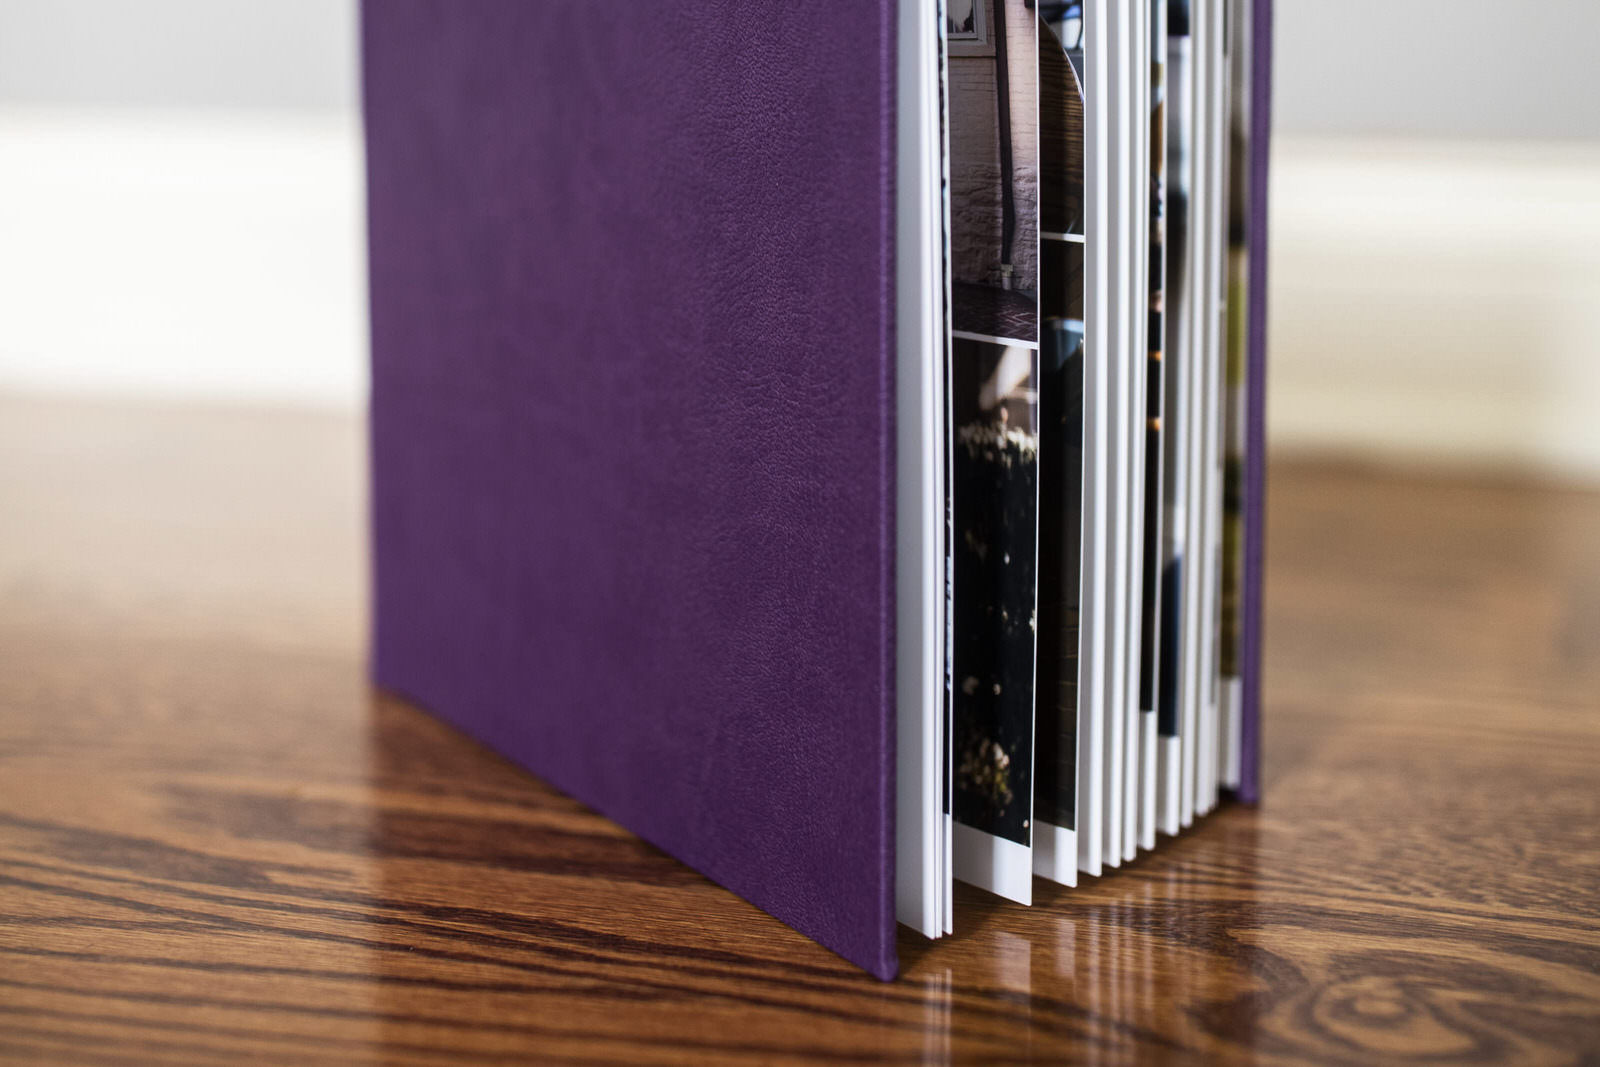
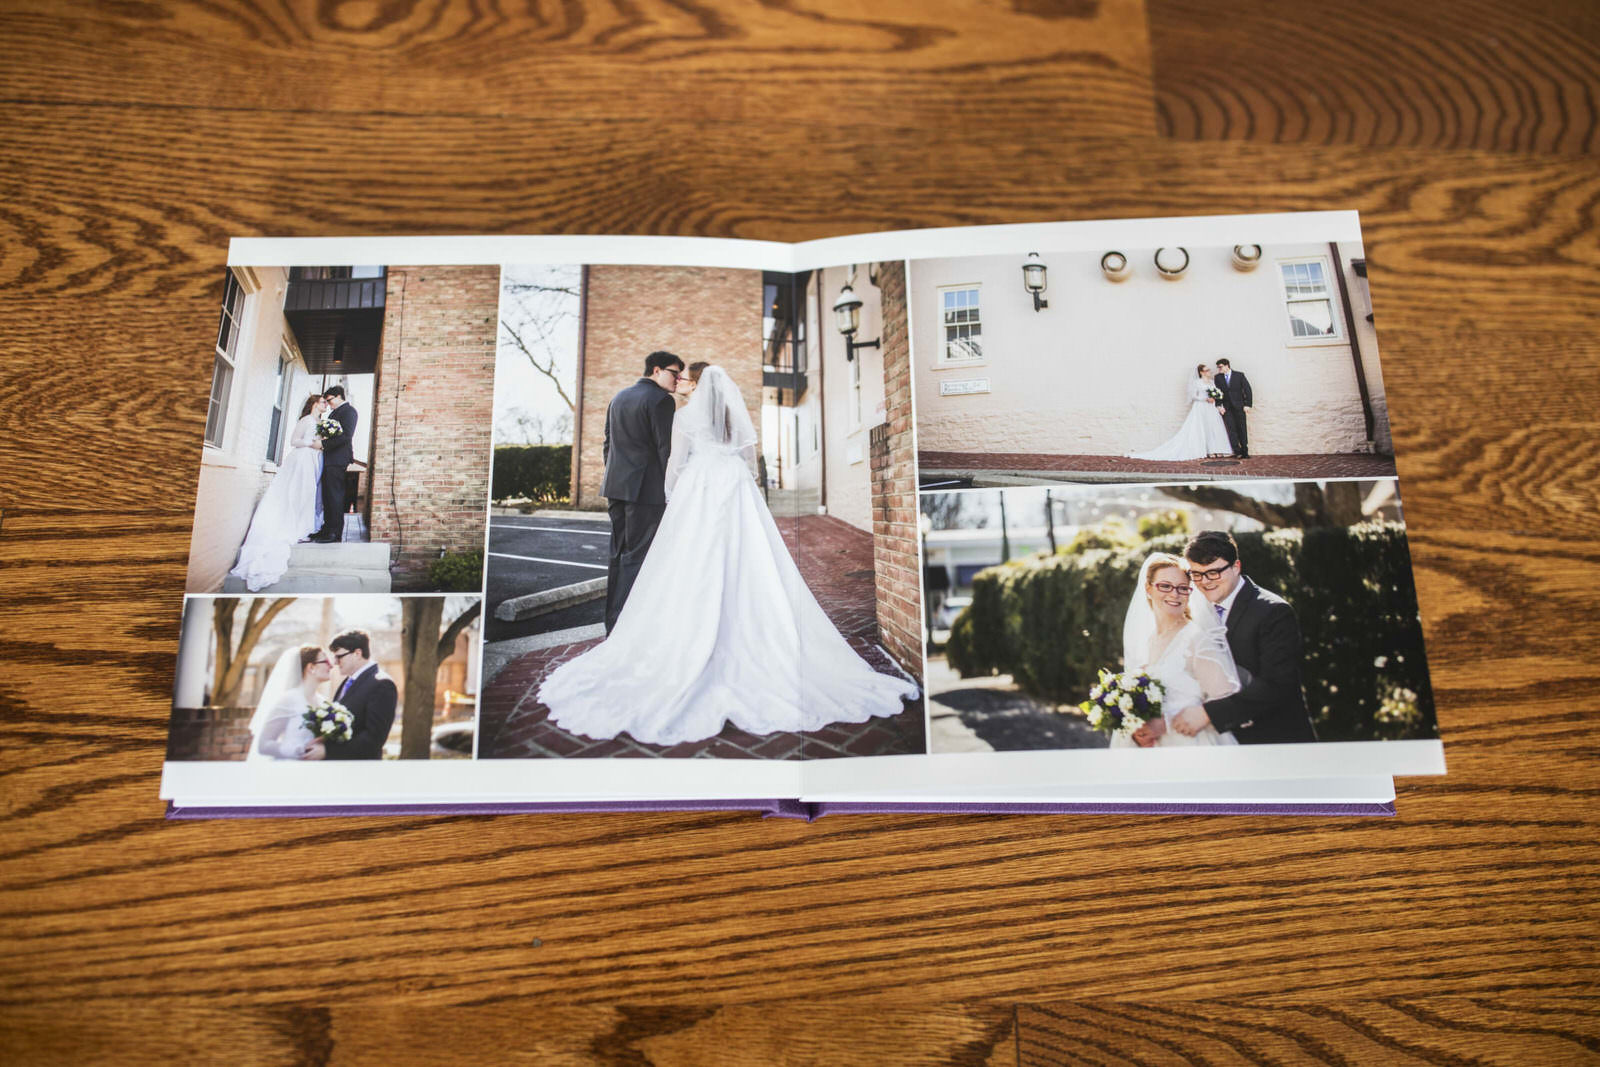
THE SOHO ALBUM
Known for its sleek, contemporary design and its clean, crisp lines, the Soho is the essence of simple modern luxury. Featuring seamless spreads, the Soho pages are meticulously hand-crafted, resulting in a superior album for storing your most cherished moments.
Details of the book pictured above:
- Size 10×10
- Faux-Leather Cover in Orchid
- Cover & Spine Imprinting in Gold
- 3×3 Cover Opening

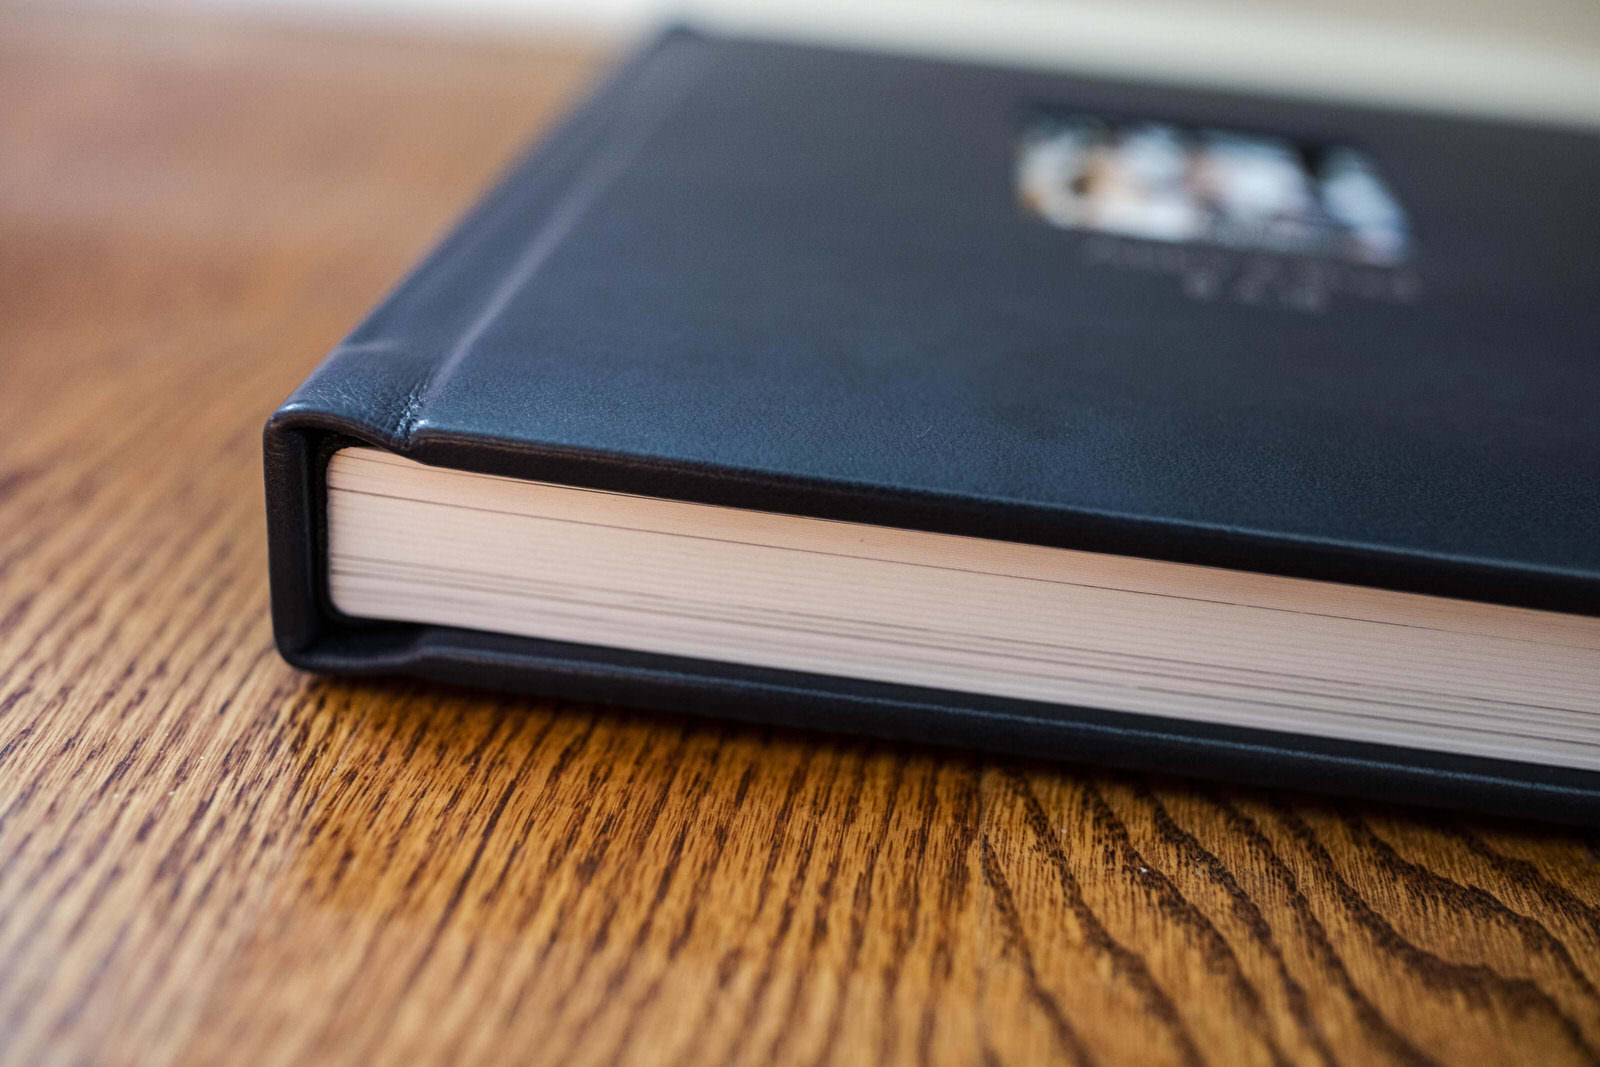
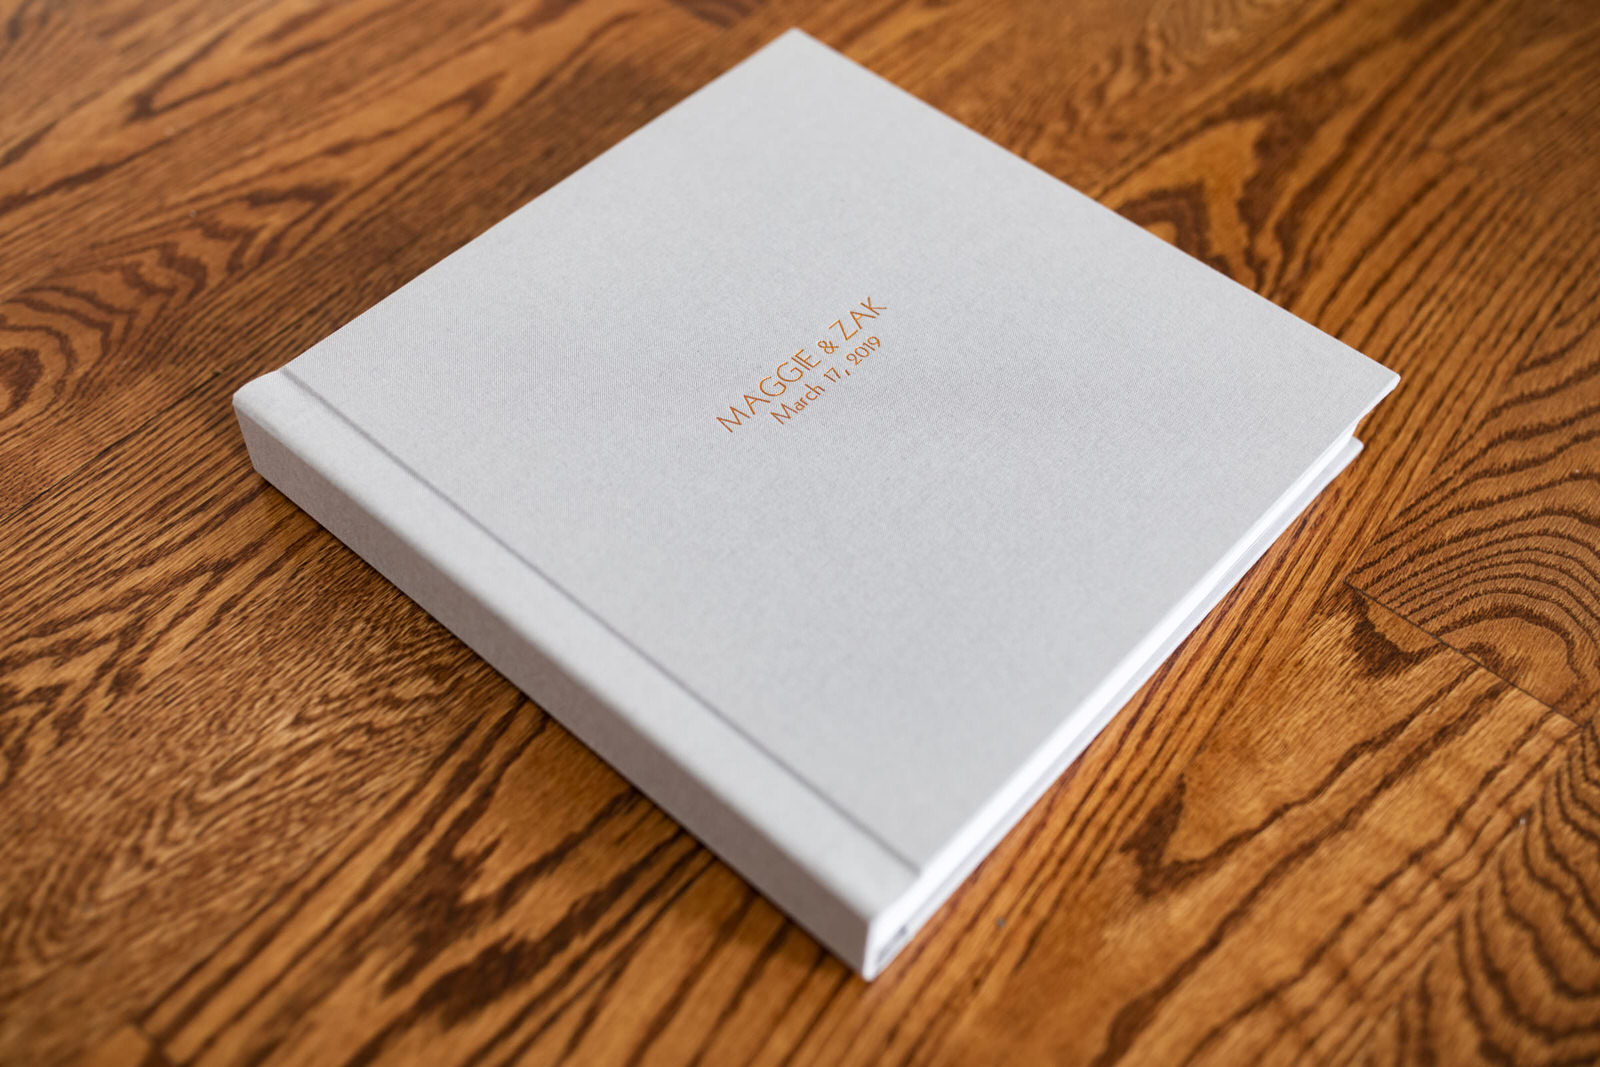
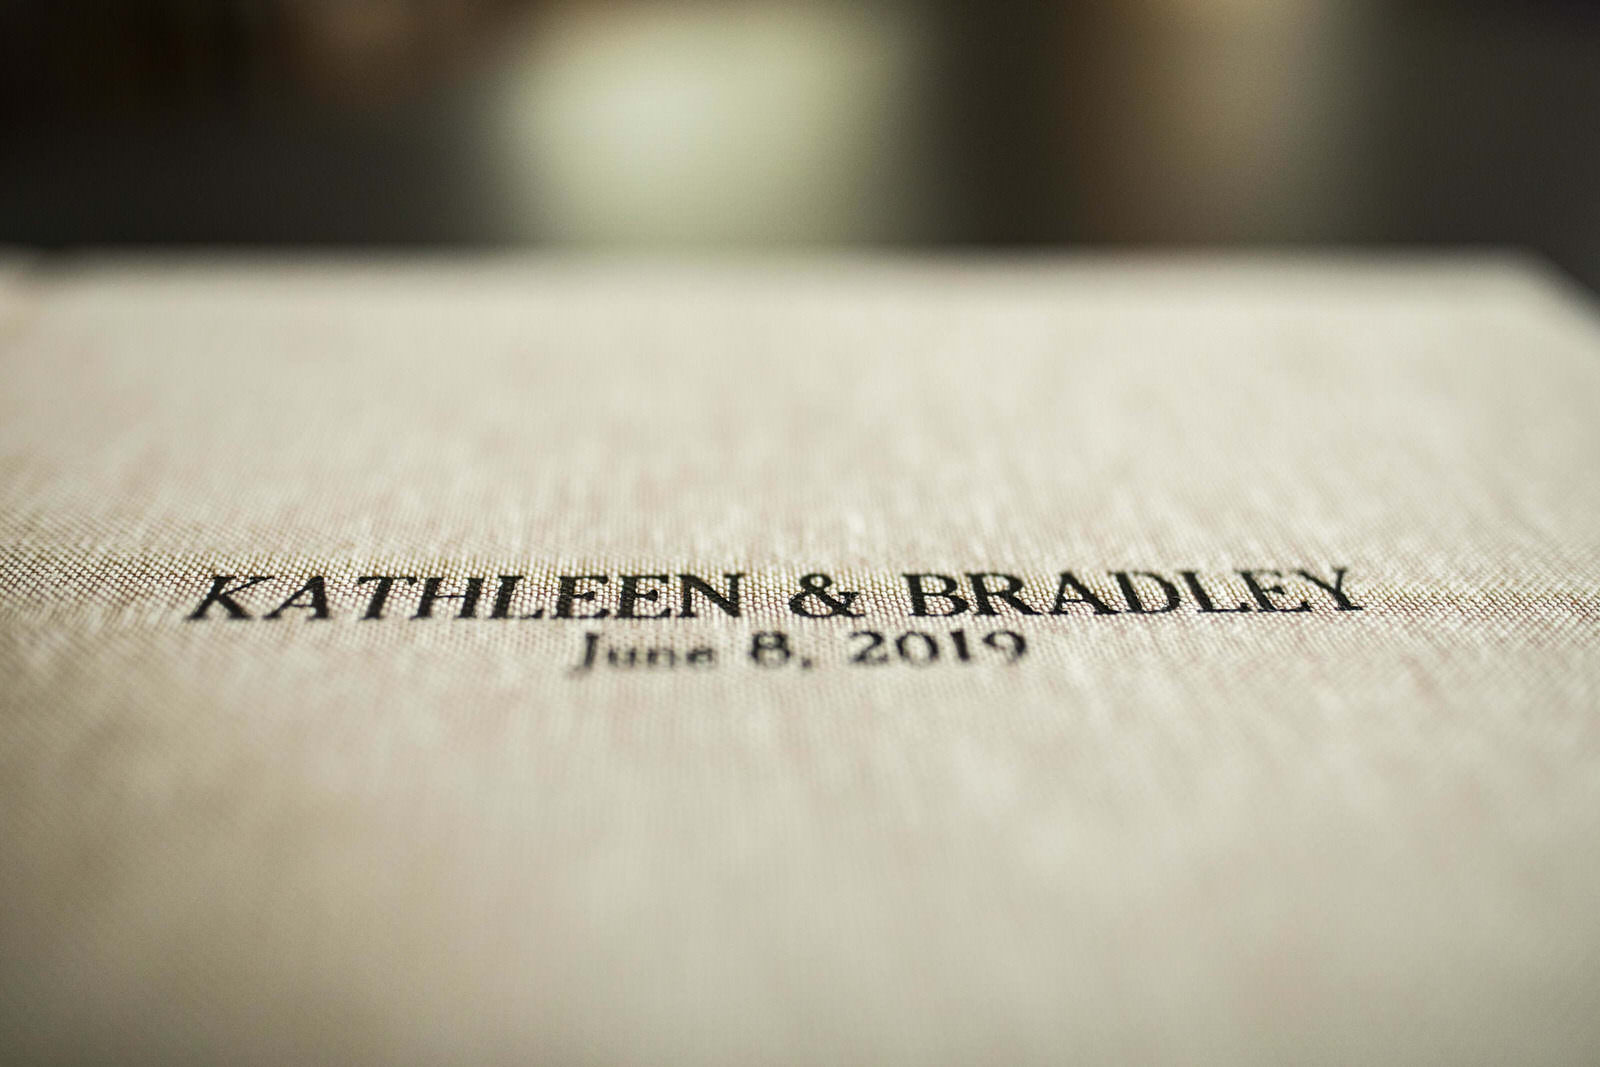
THE ESSEX PLUS ALBUM
My newest offering, the Essex Plus is a more affordable, thick page, flush mount album. The thick pages consist of 3 layers to provide more strength and durability than the Essex (reviewed next).
Details of the book pictured above:
- Size 10×10
- Contemporary Linen Cover in Mist
- Cover Imprinting in Copper
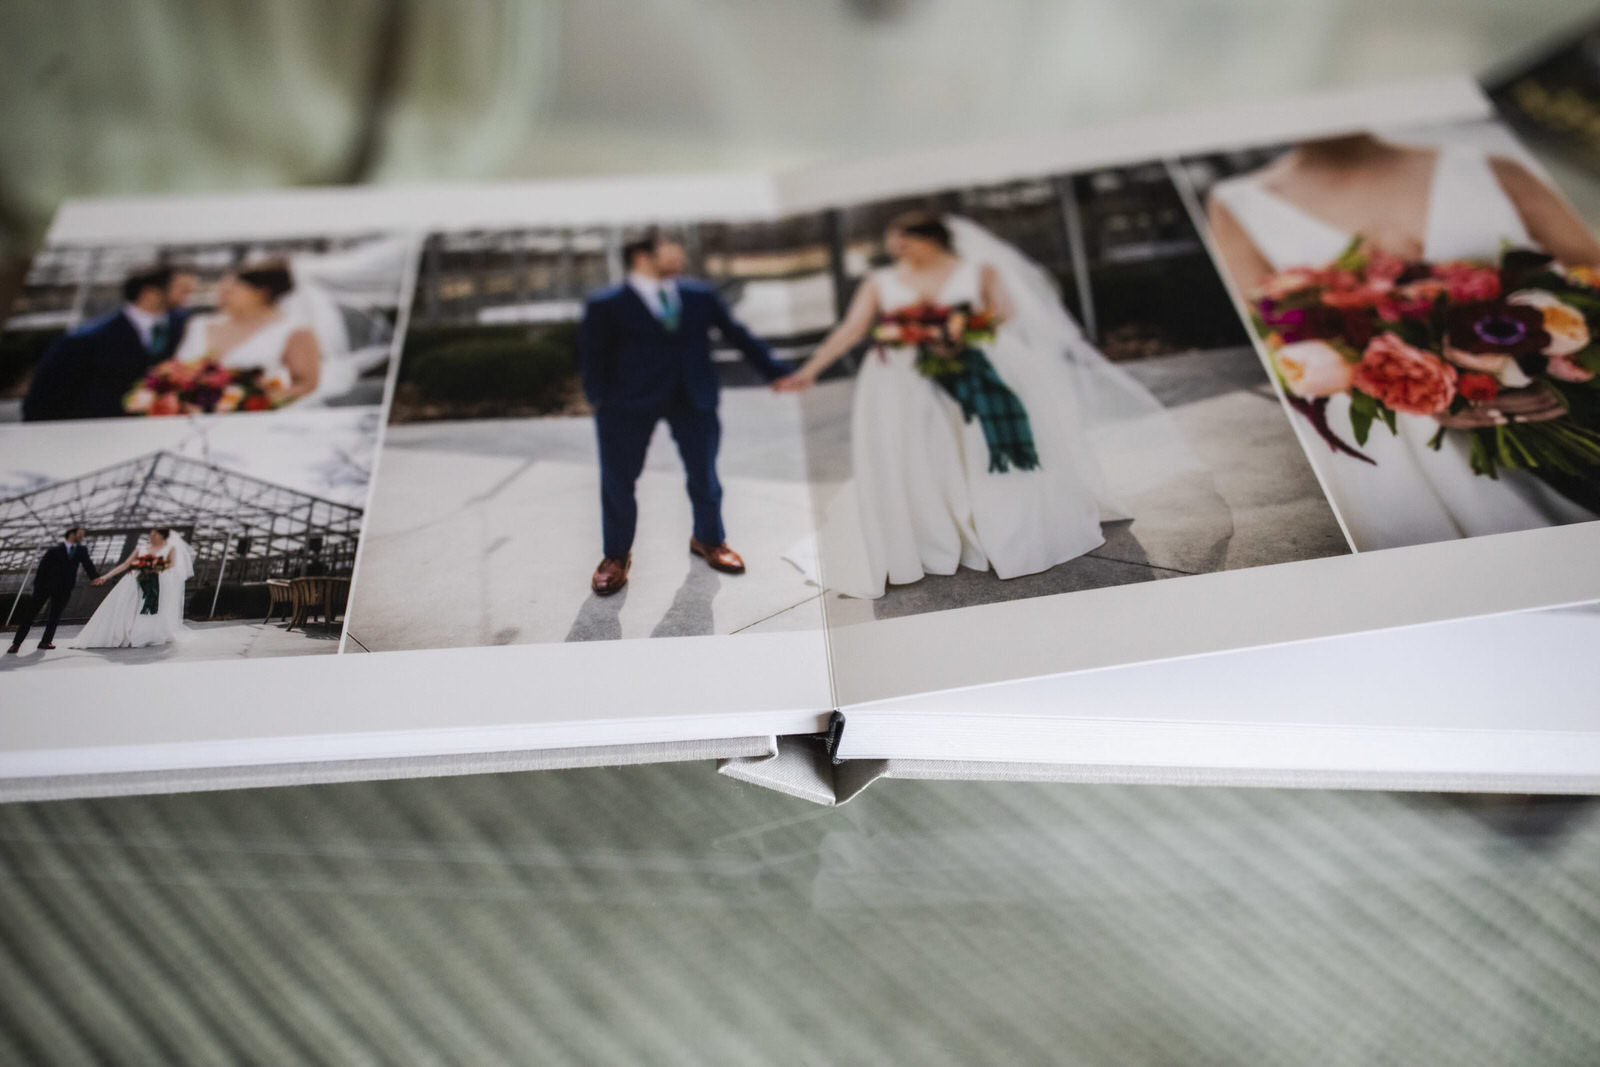


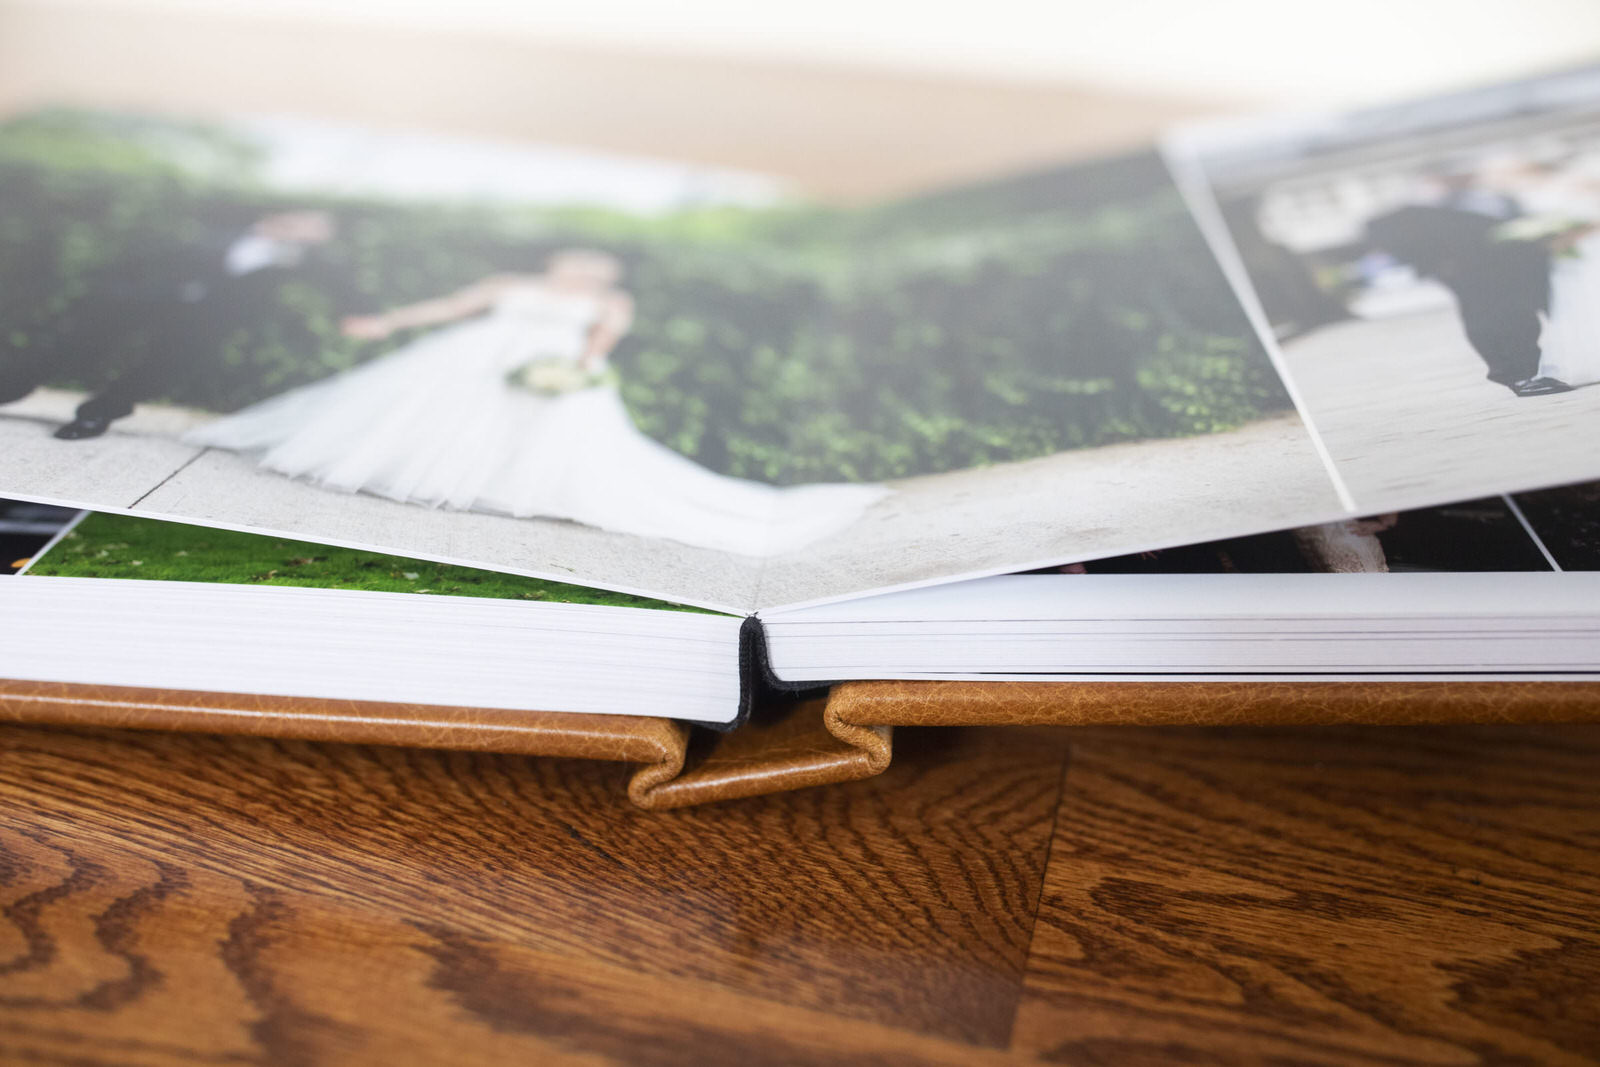

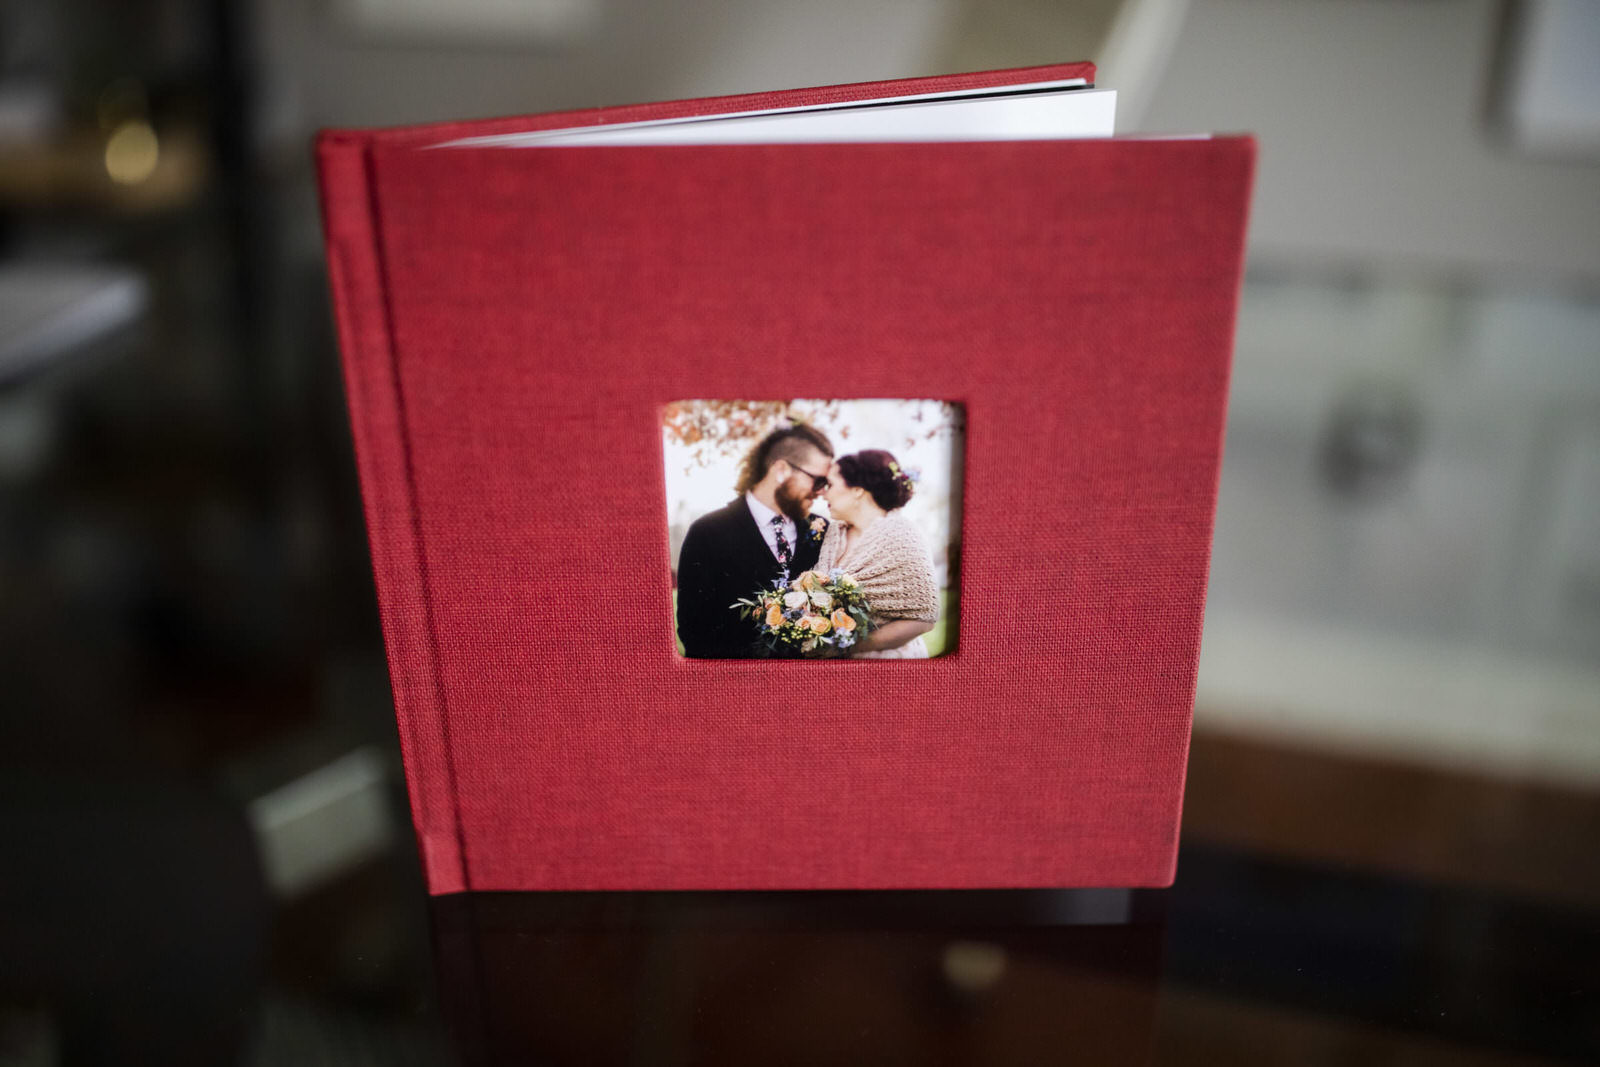
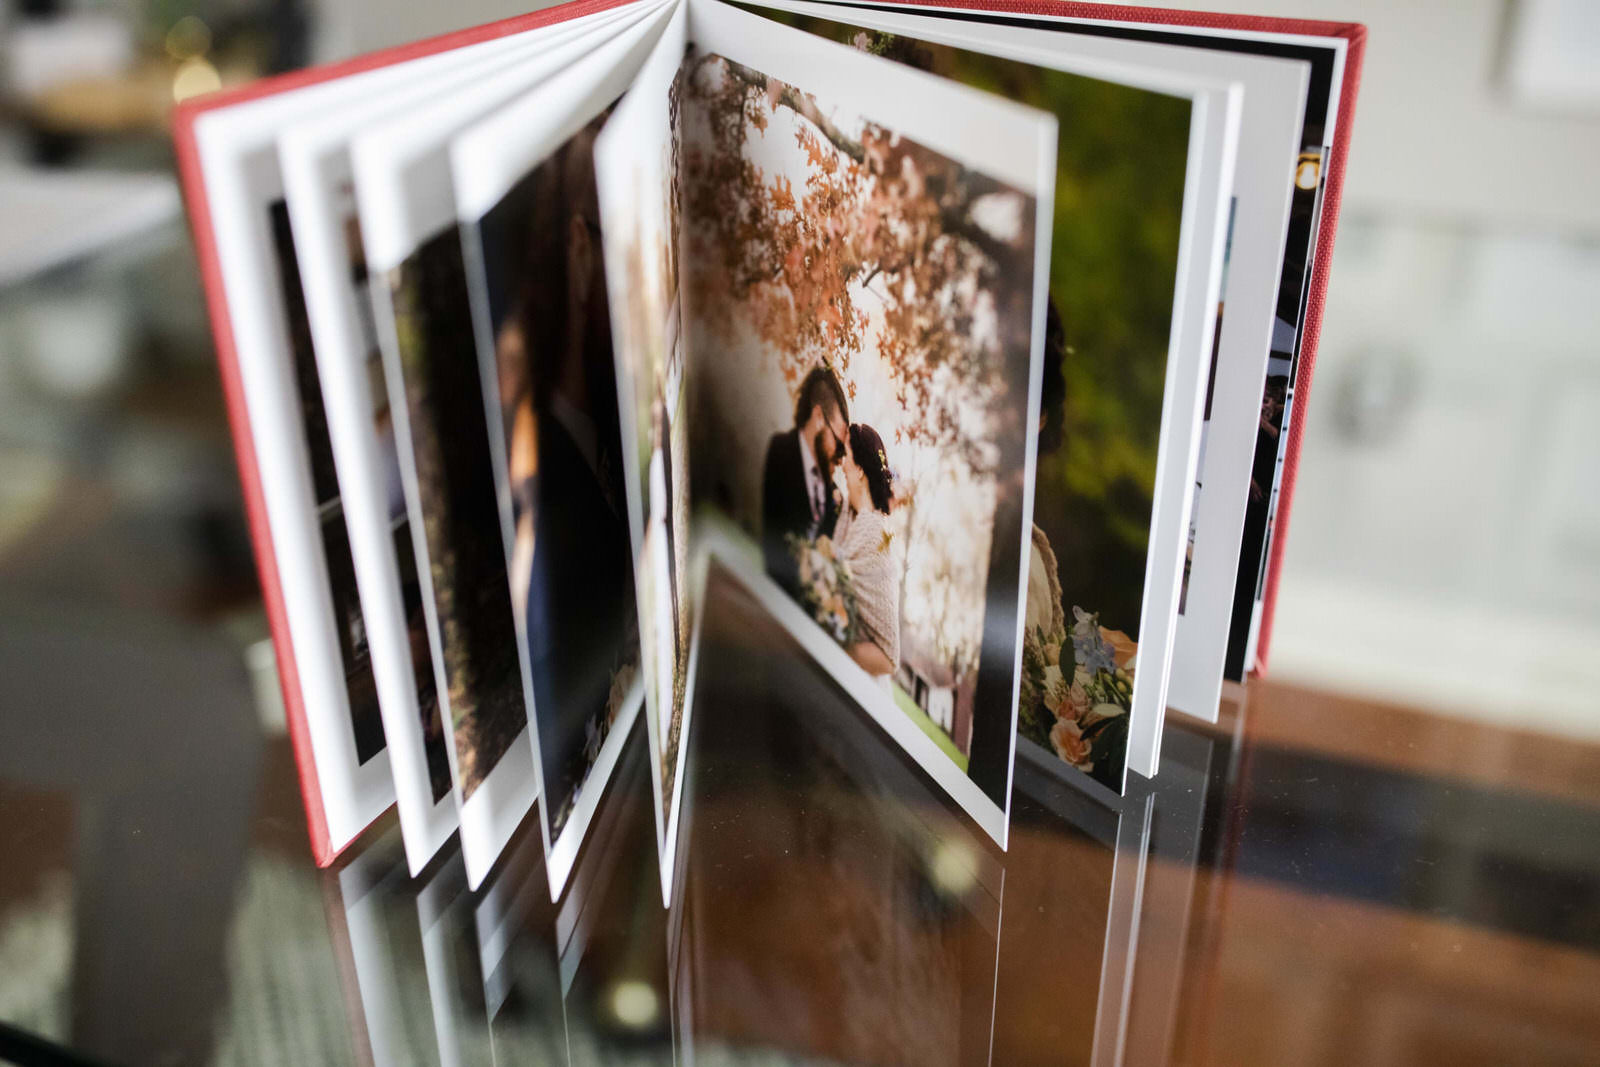
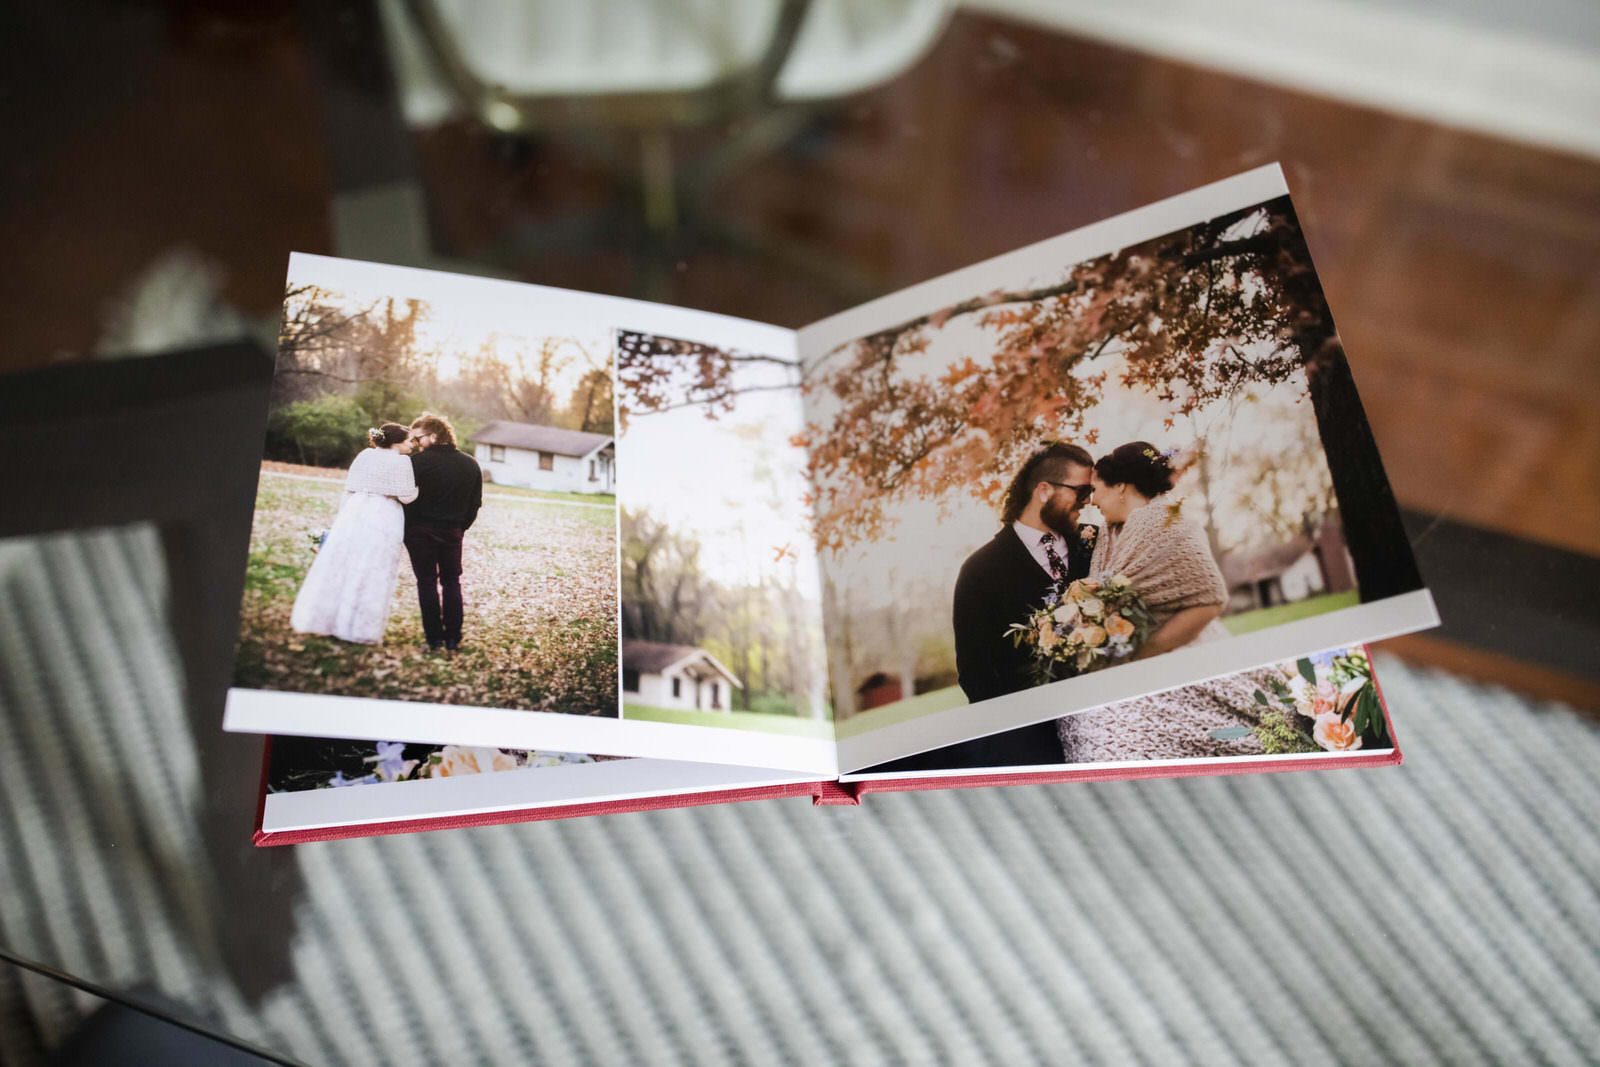
THE ESSEX ALBUM
The versatile and affordable Essex Book is ideal for parent albums or portrait sessions, but also fit for a main wedding album! The primary difference is its ultra-thin bendable pages. It allows for far greater page capacities which are simply not possible for thicker paged albums. Although the pages are thin, they are remarkably sturdy and stable.
*The Essex does have slightly more limited cover offerings.
Details of the book pictured above:
- Size 8×8
- Fulton Fabric in Cardinal
- 3×3 Cover Opening
Are you ready to get started on your album? Let’s chat!

Relevant Links:
Cover Materials: https://www.renaissancealbums.com/albums/cover-materials/
Cover Options: https://www.renaissancealbums.com/albums/cover-options/
Imprinting: https://www.renaissancealbums.com/albums/imprinting/
Packaging: https://www.renaissancealbums.com/albums/packaging/